🥇 Creating your first test
You are ready to start building tests in Waldo! Read more below for instructions on how to create your first test.
Before continuing...Before you read this article, you should have uploaded your app to Waldo, so you have something to test! If you have not done this, please see our article “Uploading you app” for a step by step guide.
When it comes to creating your first test, there are a few core steps:
- Make sure your build works in Waldo
- Know what kind of test you want to build first as your “Foundational Test”
- Create and validate your test
Starting with Sign UpIf possible, we recommend starting with a Sign Up flow: something that you can use to test initial entry into the app, basic navigation, etc. This will also ensure that you do not run into repeatability issues with this same test in future runs.
If this is not possible, or you would like to see what foundational test is the best fit for your use case, click here.
Creating your first test in Waldo
- Navigate to your Testing page using the sidebar menu
- When you land on your Testing page, click in the upper right hand corner on “Create a Test”
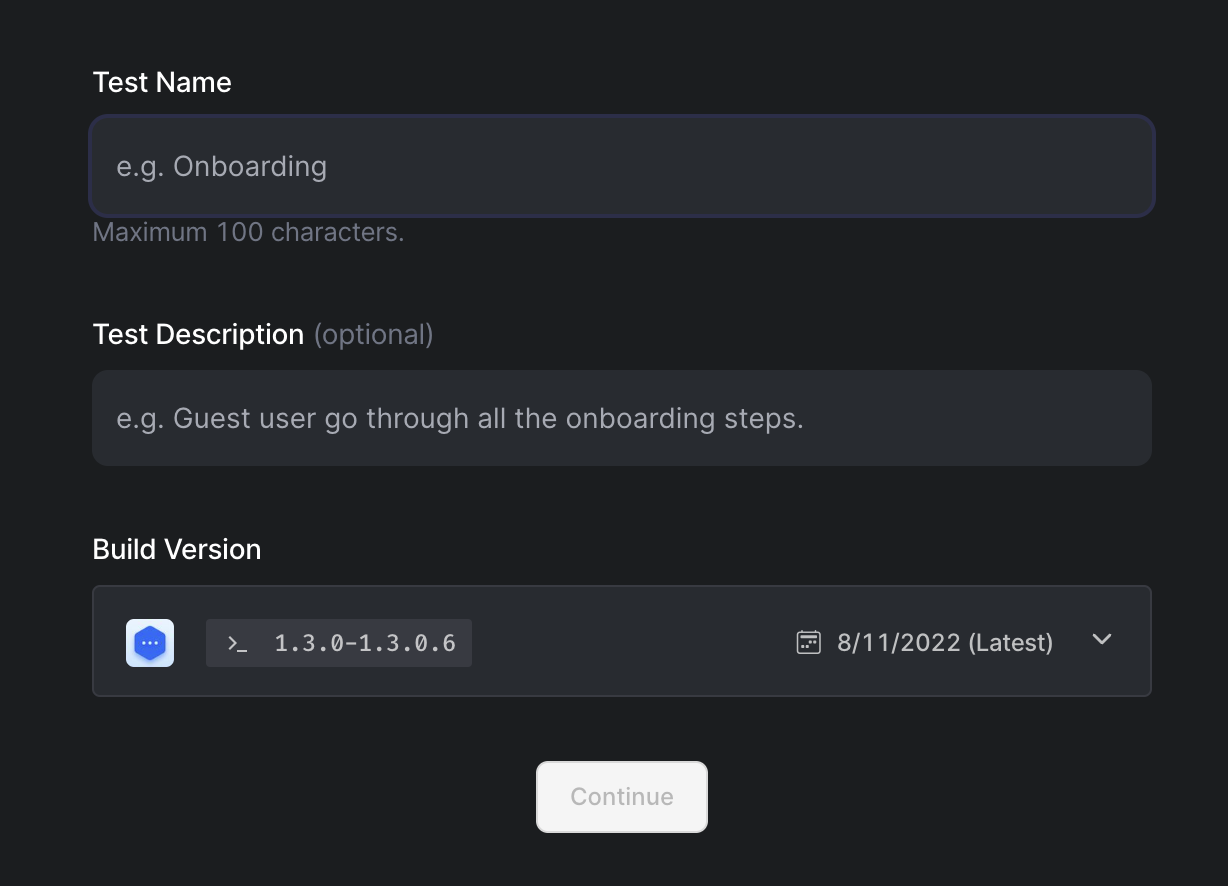
- Name your test and provide a brief description so you can easily identify it as your suite grows.

-
Select the build you would like to use for the test
a. If you have only uploaded a single build at this point, it will auto-populate -
Your app will then be loaded into the Waldo Recorder
a. From here, you can begin to interact with your application on a virtual device, the same way you would manuallyb. More details on the Recorder can be found here.
- This will provide you with a step by step walkthrough of available functions and buttons. If you prefer to reference that documentation directly, scroll down.
c. More details on interactions can be found here.
Finalizing and validating your test
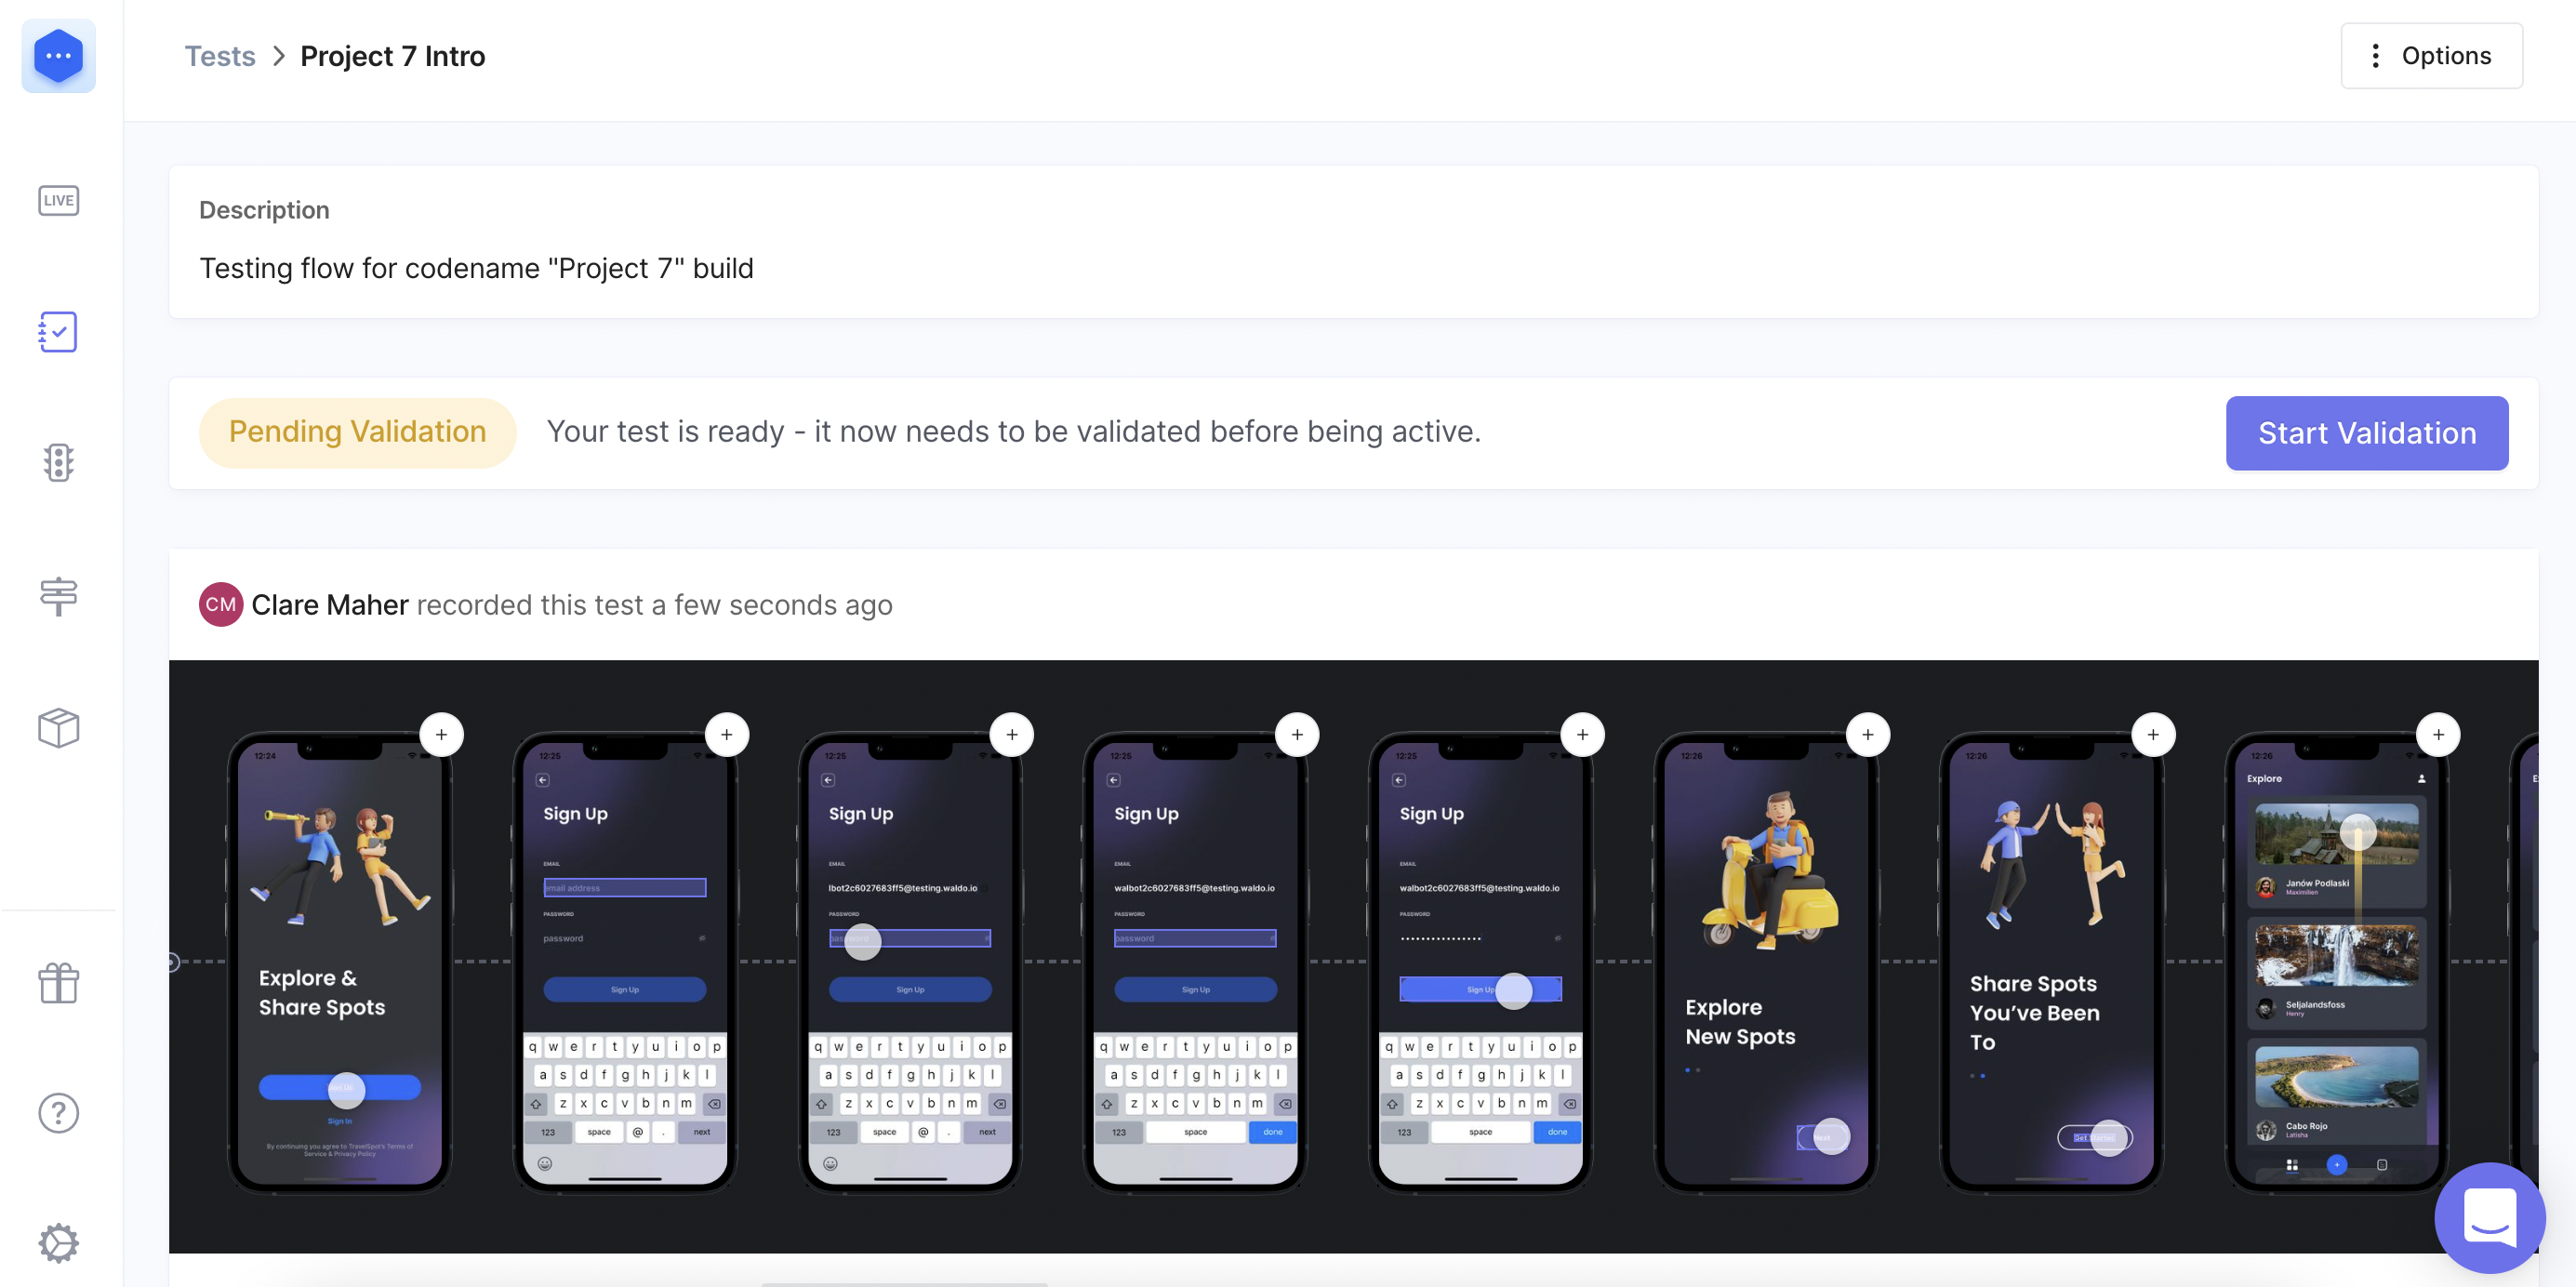
- After you have finished using Waldo Recorder to create your test, you will be taken to the screen pictured below, and prompted to validate your test.

- When you click validate, your test will be played back in real time on your screen 3 times
- The benefit of validation is that it exposes flakiness in your test early on.
- This validation function replays your test a minimum of three times on each device configuration.
- Each test must pass validation before becoming part of your test suite.
- Similarly, your test must pass validation to be usable as a dependency for another test.
- 🎉Congratulations! 🦙 You have completed your first test build in Waldo!
Adding Assertions
To add assertions to a recently created test flow, simply:
- Click on the test you want to add assertions to
- Click into the step where you would like to add the assertion
- Navigate to the Assertions tab within the step (pictured below)
- Click "Add Assertion"

Note: Waldo will automatically set your Screen Similarity at 85%. This can be edited or adjusted by you from this same assertions tab within your test, or within the App Configuration menu located in your sidebar navigation.
To learn more about Assertions in Waldo, including the types of assertions we support, click here.
Chaining tests and testing dependenciesClick on the following links to learn more about chaining tests and creating rules to govern your test runs.
Updated 5 months ago
