🥇 Starting your first Session
Saving your SessionThe end of this article will walk you through saving your Session, and accessing the Replay.
Once you have completed account setup and uploaded a build, you will be able to start a Session.
- Navigate to Sessions on the lefthand sidebar navigation, located on your Dashboard
- Select the device configuration you would like to use for your Session
- Select the build you would like to use for your Session (if you have more than one uploaded)
You will see the device you selected load the build file you selected.
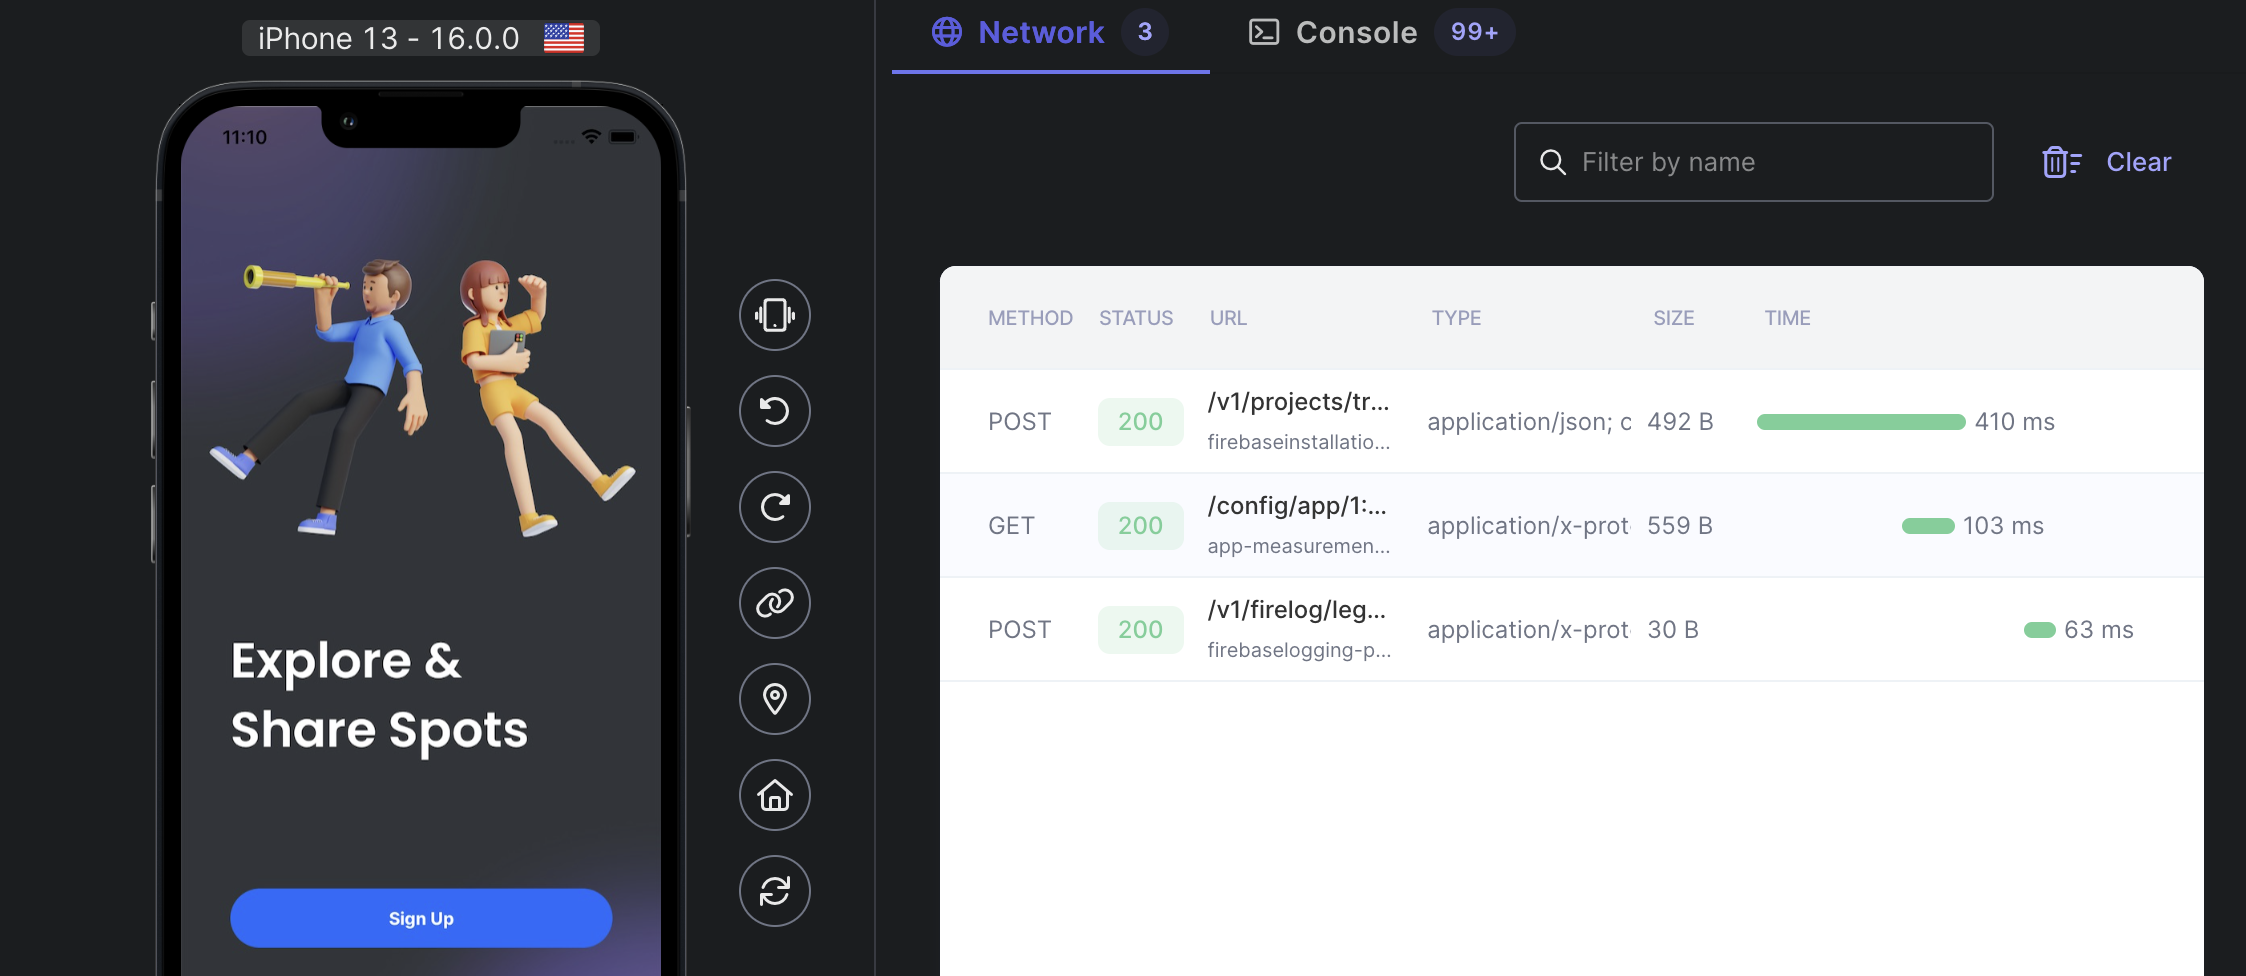
Once the app has been launched, you can begin interacting with the app immediately. You will notice as the app launches that the network calls and console logs will begin loading in real time beside the device.
These calls and logs are being actively saved, along with every step you are taking on the device, and can be accessed in your Replay once the Session is ended and saved. They can be downloaded and shared once the Session has concluded.

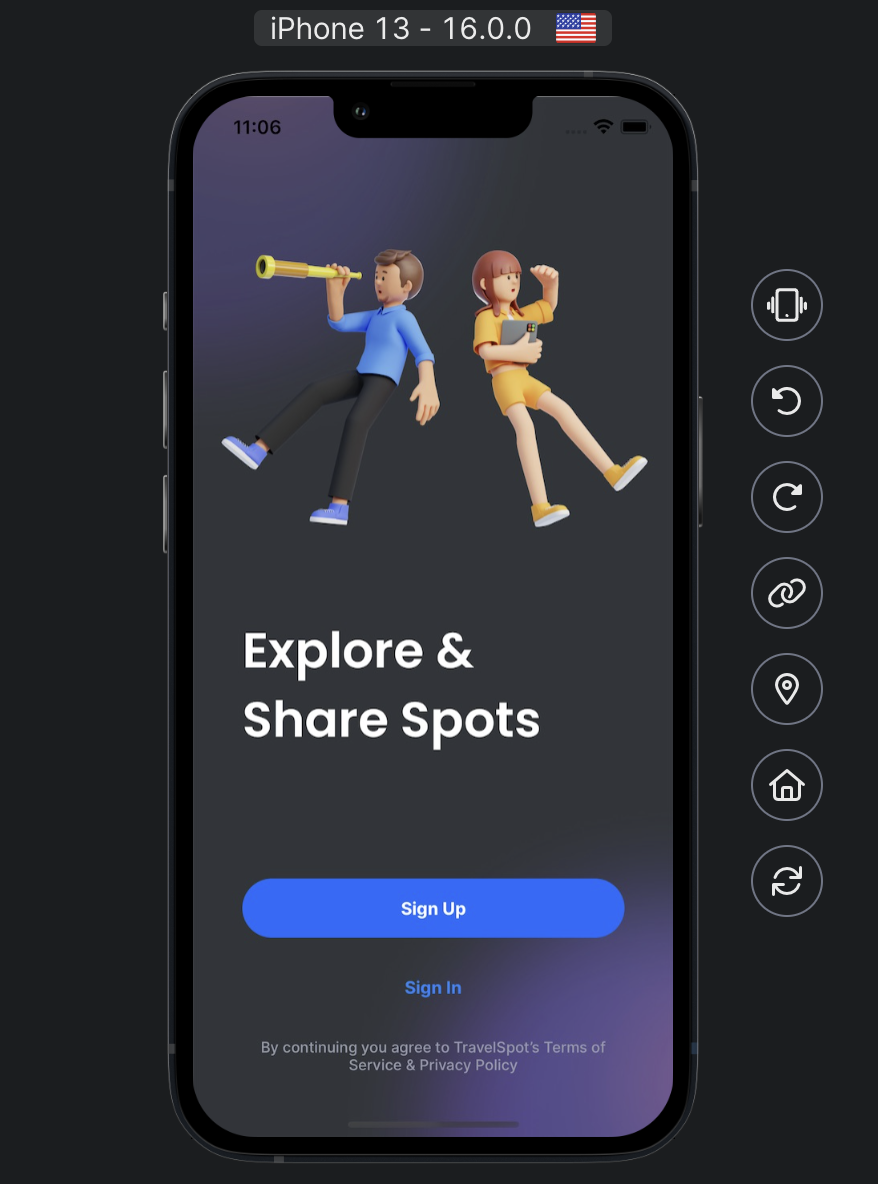
On the righthand side of the virtual device, you will also notice a variety of interactions you can select:
- Shake device
- Rotate left
- Rotate right
- Deeplink
- Set Location
- Home screen
- Relaunch App

Selecting these will make the device respond accordingly (or may prompt you to enter additional information before allowing the device to respond with deeplink or location).
Saving your Session
Make sure to hit "Stop Session" in the top right corner of your screen. The Session will be automatically saved as a Replay that you can access to rewatch your Session or share with team members.
Updated 4 months ago
