Assertion Migration
After recording your test, you can update it from a given step as many times as desired.
It is reasonable to ask: What happens to all the assertions assigned in the original recording?
This can be tricky because each update to your test may incur fundamental changes in the recorded steps. For example:
- One or more screens may have changed completely: additional or missing elements (such as buttons), repositioned elements, elements with updated content, and so on.
- New screens may have been added, old screens may have been removed: you can simply add new steps between two previously recorded steps, or just as easily remove some steps that are no longer relevant.
How does Assertion Migration work?
After you update your test, Waldo compares every screen in the old and new recordings so that it can automatically migrate your assertions. There are several scenarios that may occur while matching screens:
- Succeeds in matching an element tied to an assertion. For example, a text assertion on a text element. In such case, Waldo automatically creates a new assertion on the matched element of the new recording.
- Fails to match an element in a matched screen. Waldo can match screens even if they are slightly changed. For example, you change an element’s text which is tied to an assertion. In such case, Waldo prompts you to validate the assertion.
- Fails to match a screen. This can happen if you replace a step with a completely different step. In such case, Waldo prompts you to select the correct screen and elements to migrate the original assertions to.
Note: In all cases where the assertion is not automatically migrated, you can:
- Drop it completely,
- Update its value e.g. value of text assertion,
- Change the step or the element on which the assertion is created.
There are two obvious cases where you won’t experience the Assertion Migration step:
- If you have no assertion created in the original recording.
- If Waldo automatically migrates all assertions created on the original recording.
How to use Assertion Migration:
Whenever you update your test, Waldo automatically triggers assertion migration (exception in the two cases mentioned above):
Waldo fetches the assertions and then display a modal window with the old and new screens on the left and right, respectively:
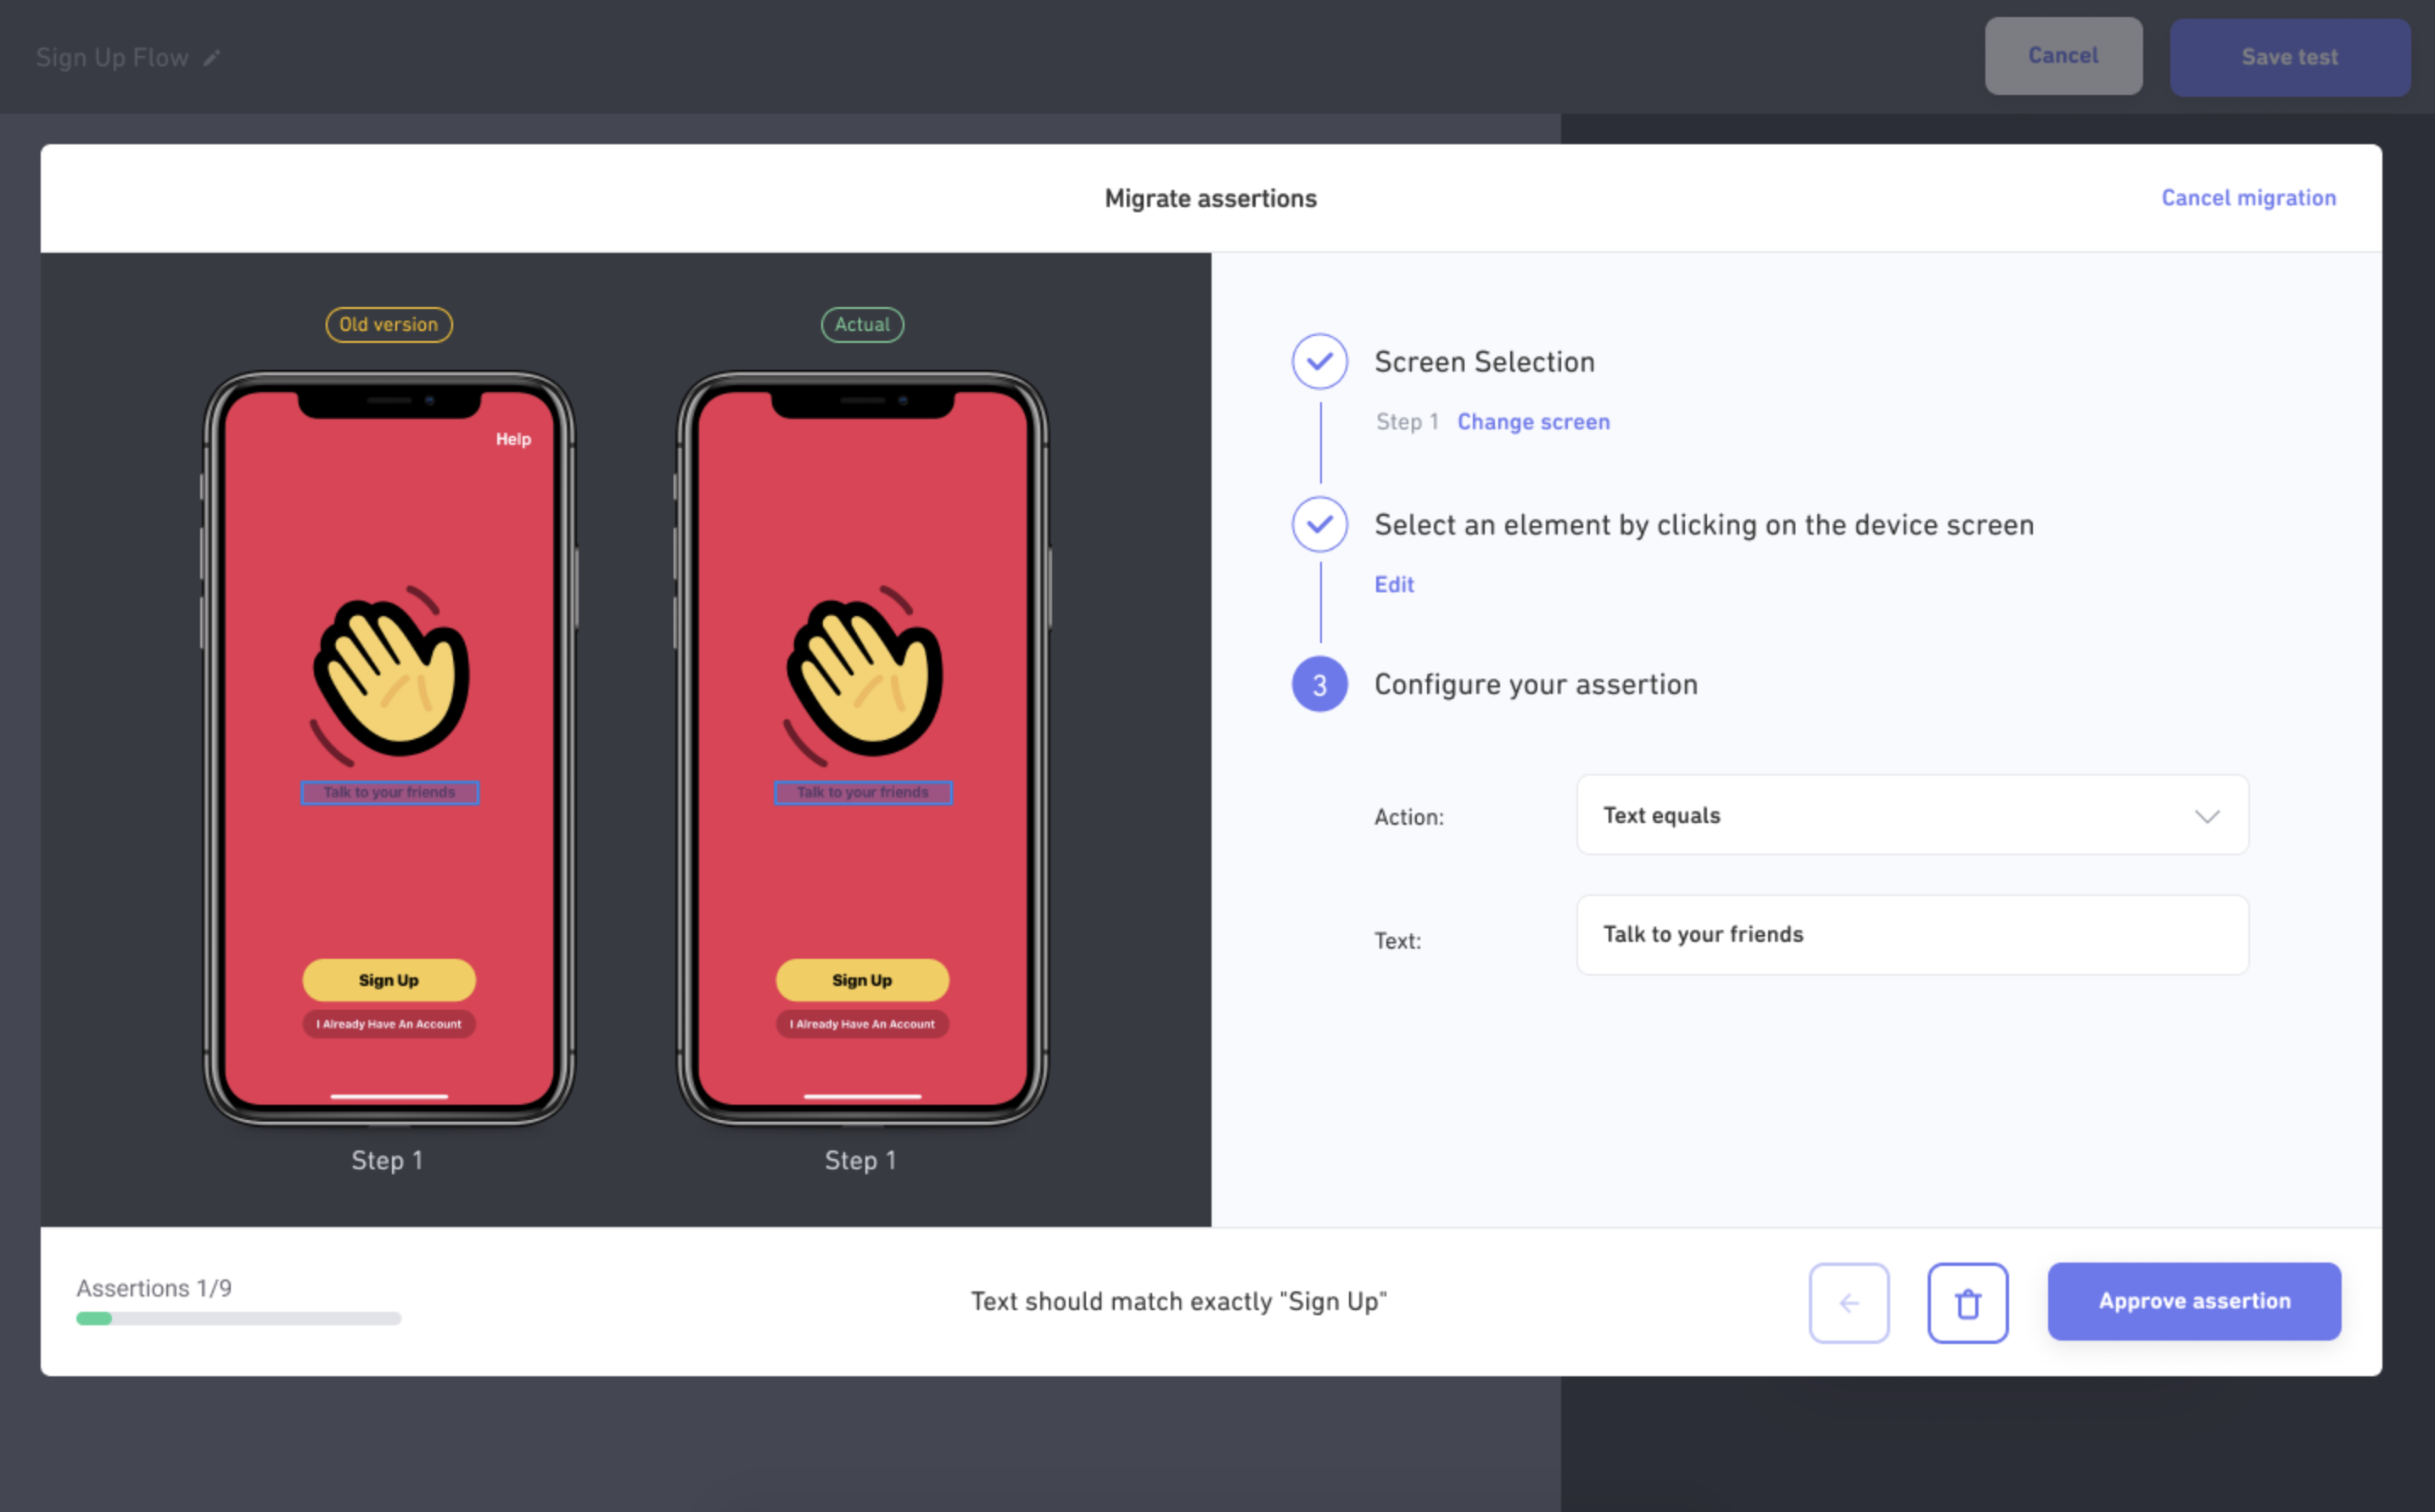
Here you can:
- Select the screen to migrate the old assertion to. Click on the
Change screenbutton:
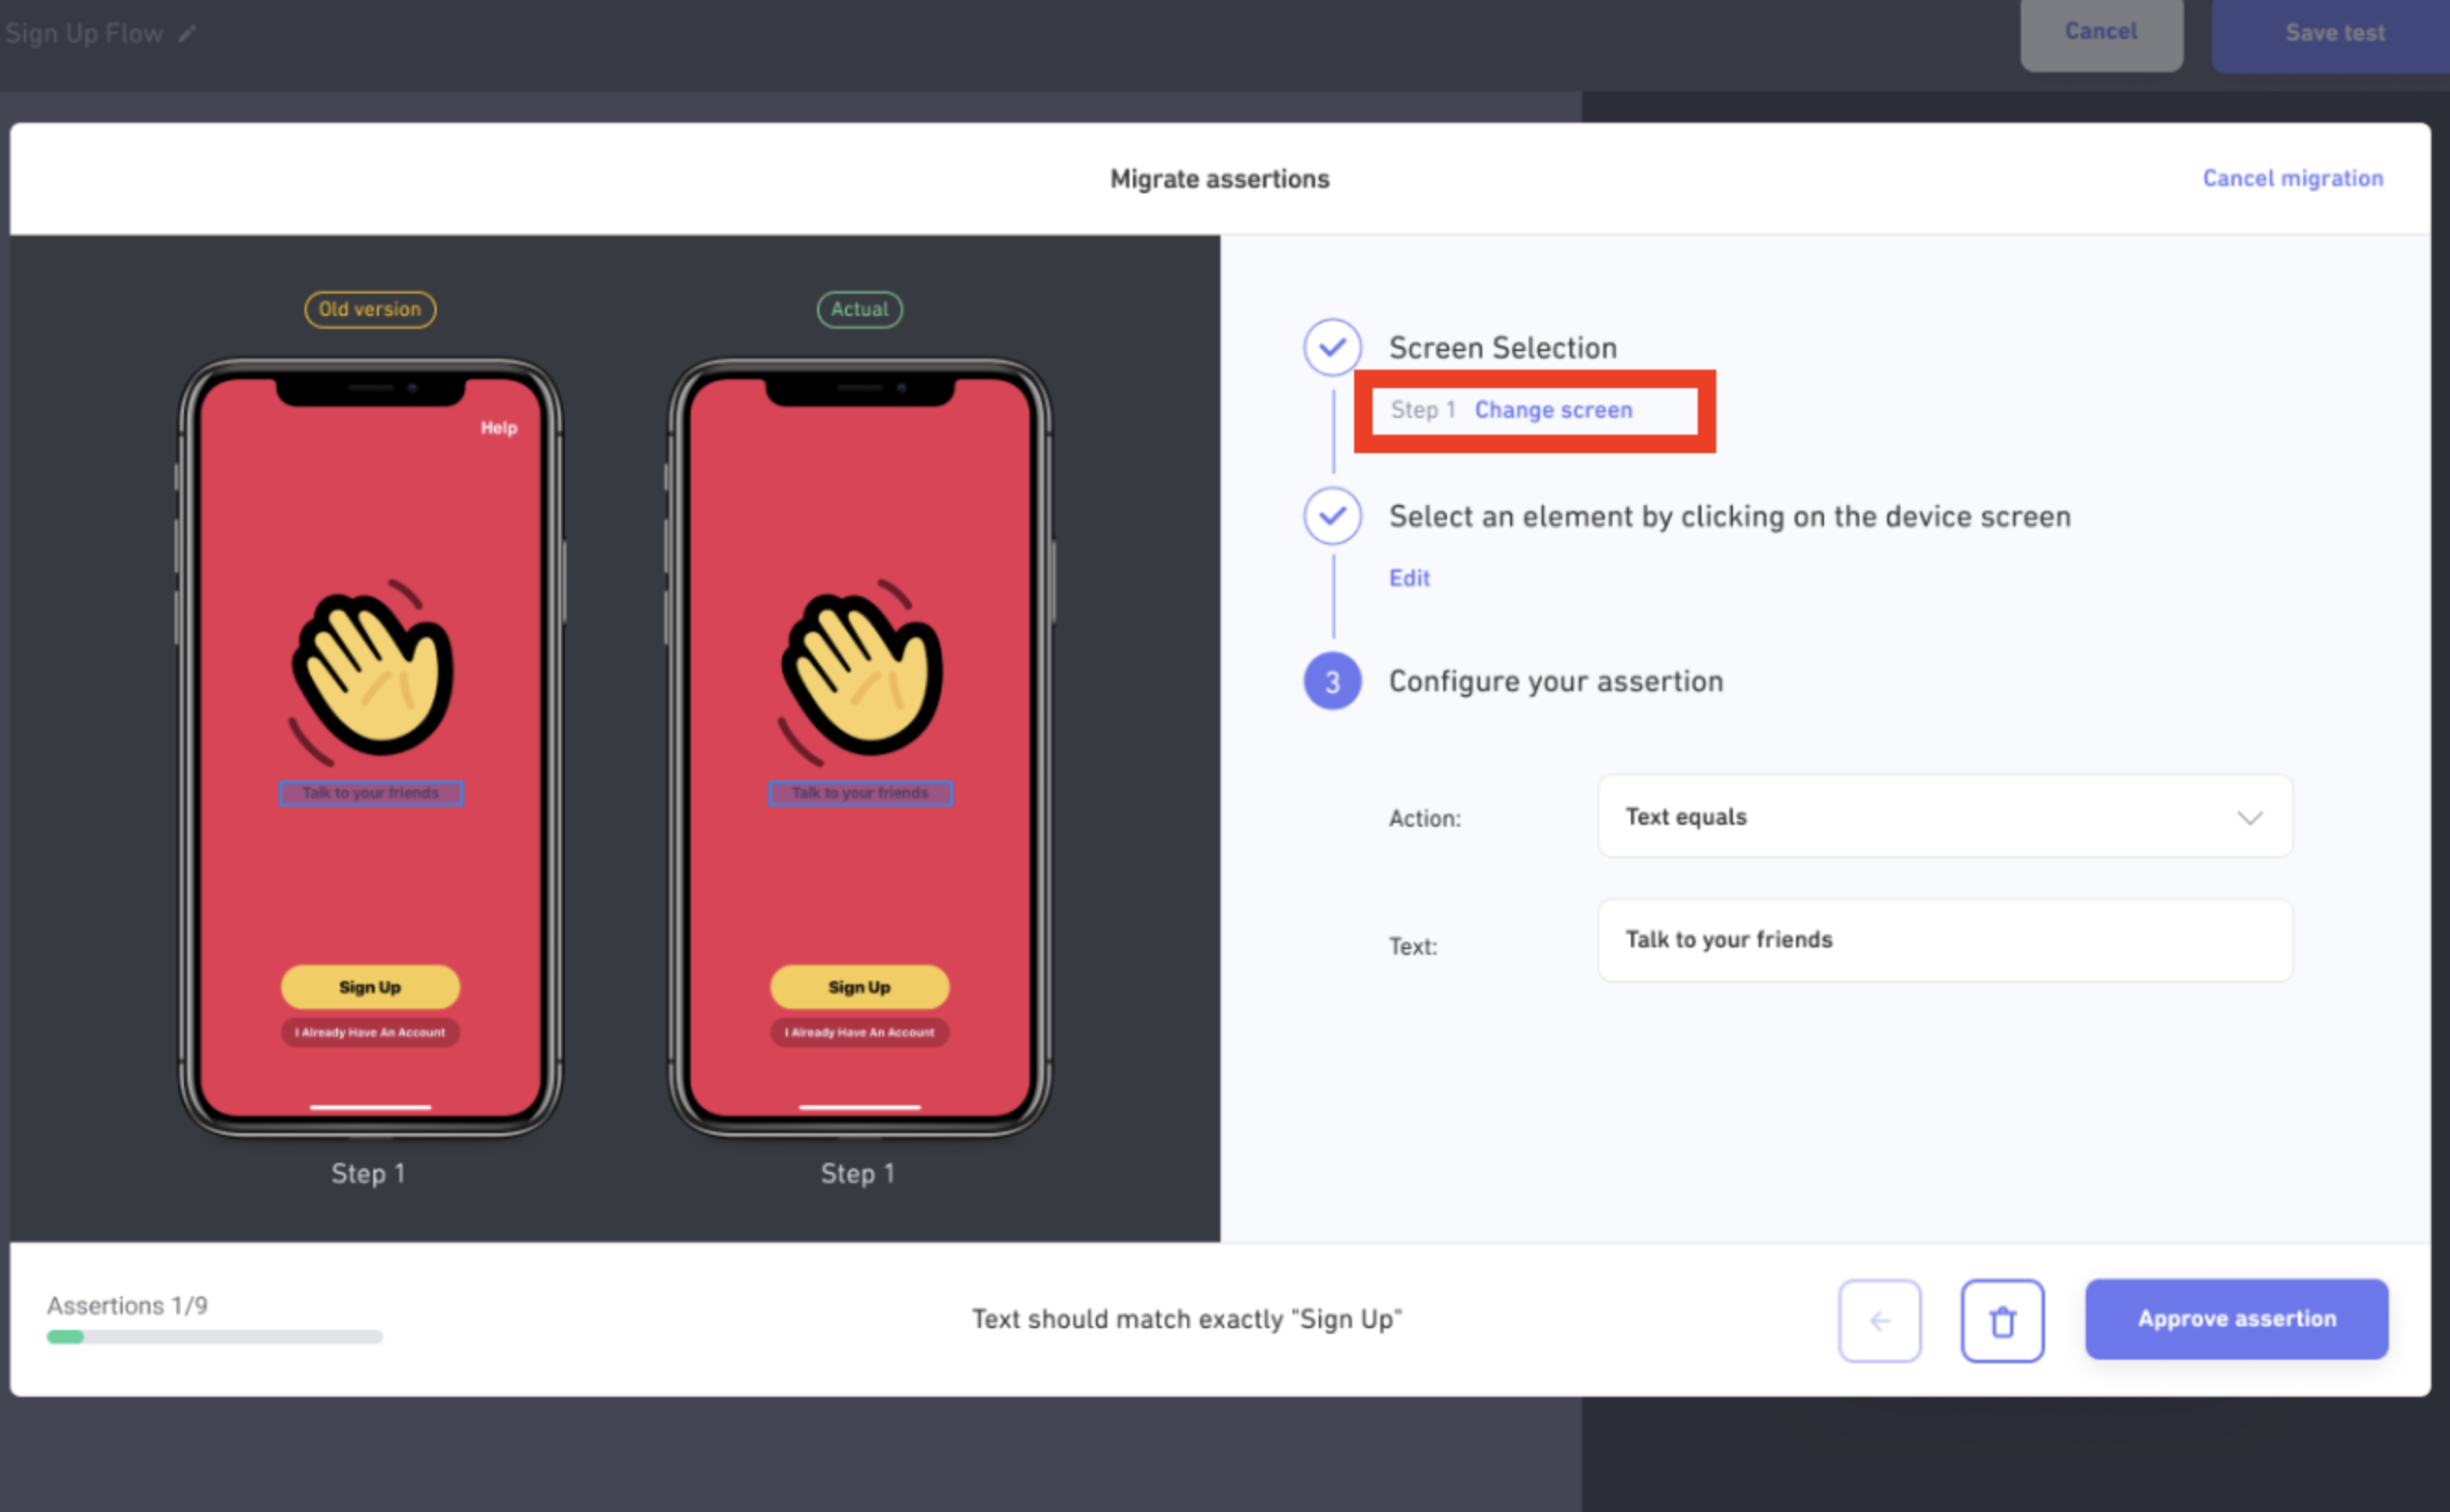
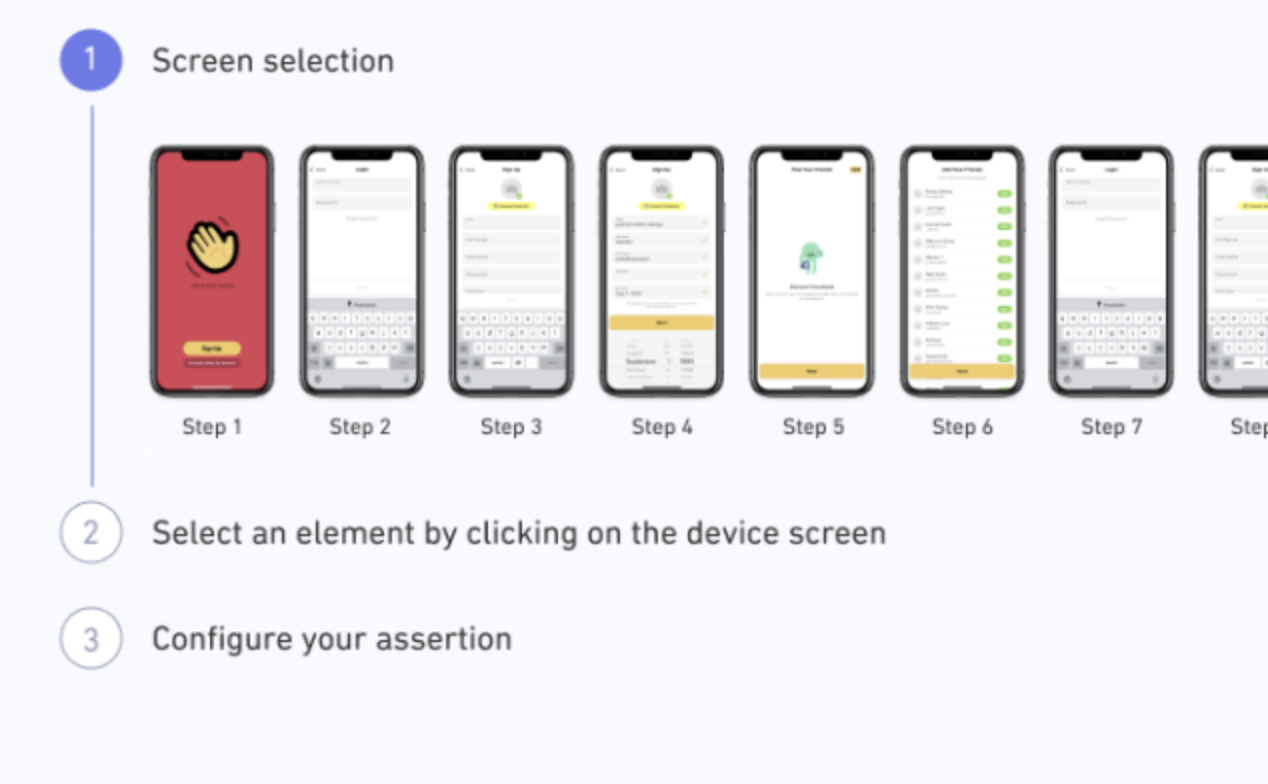
- A screen selector appears:
- Select the element to migrate the assertion to. Click the
Editbutton and then interact with the new screen (on the right side):
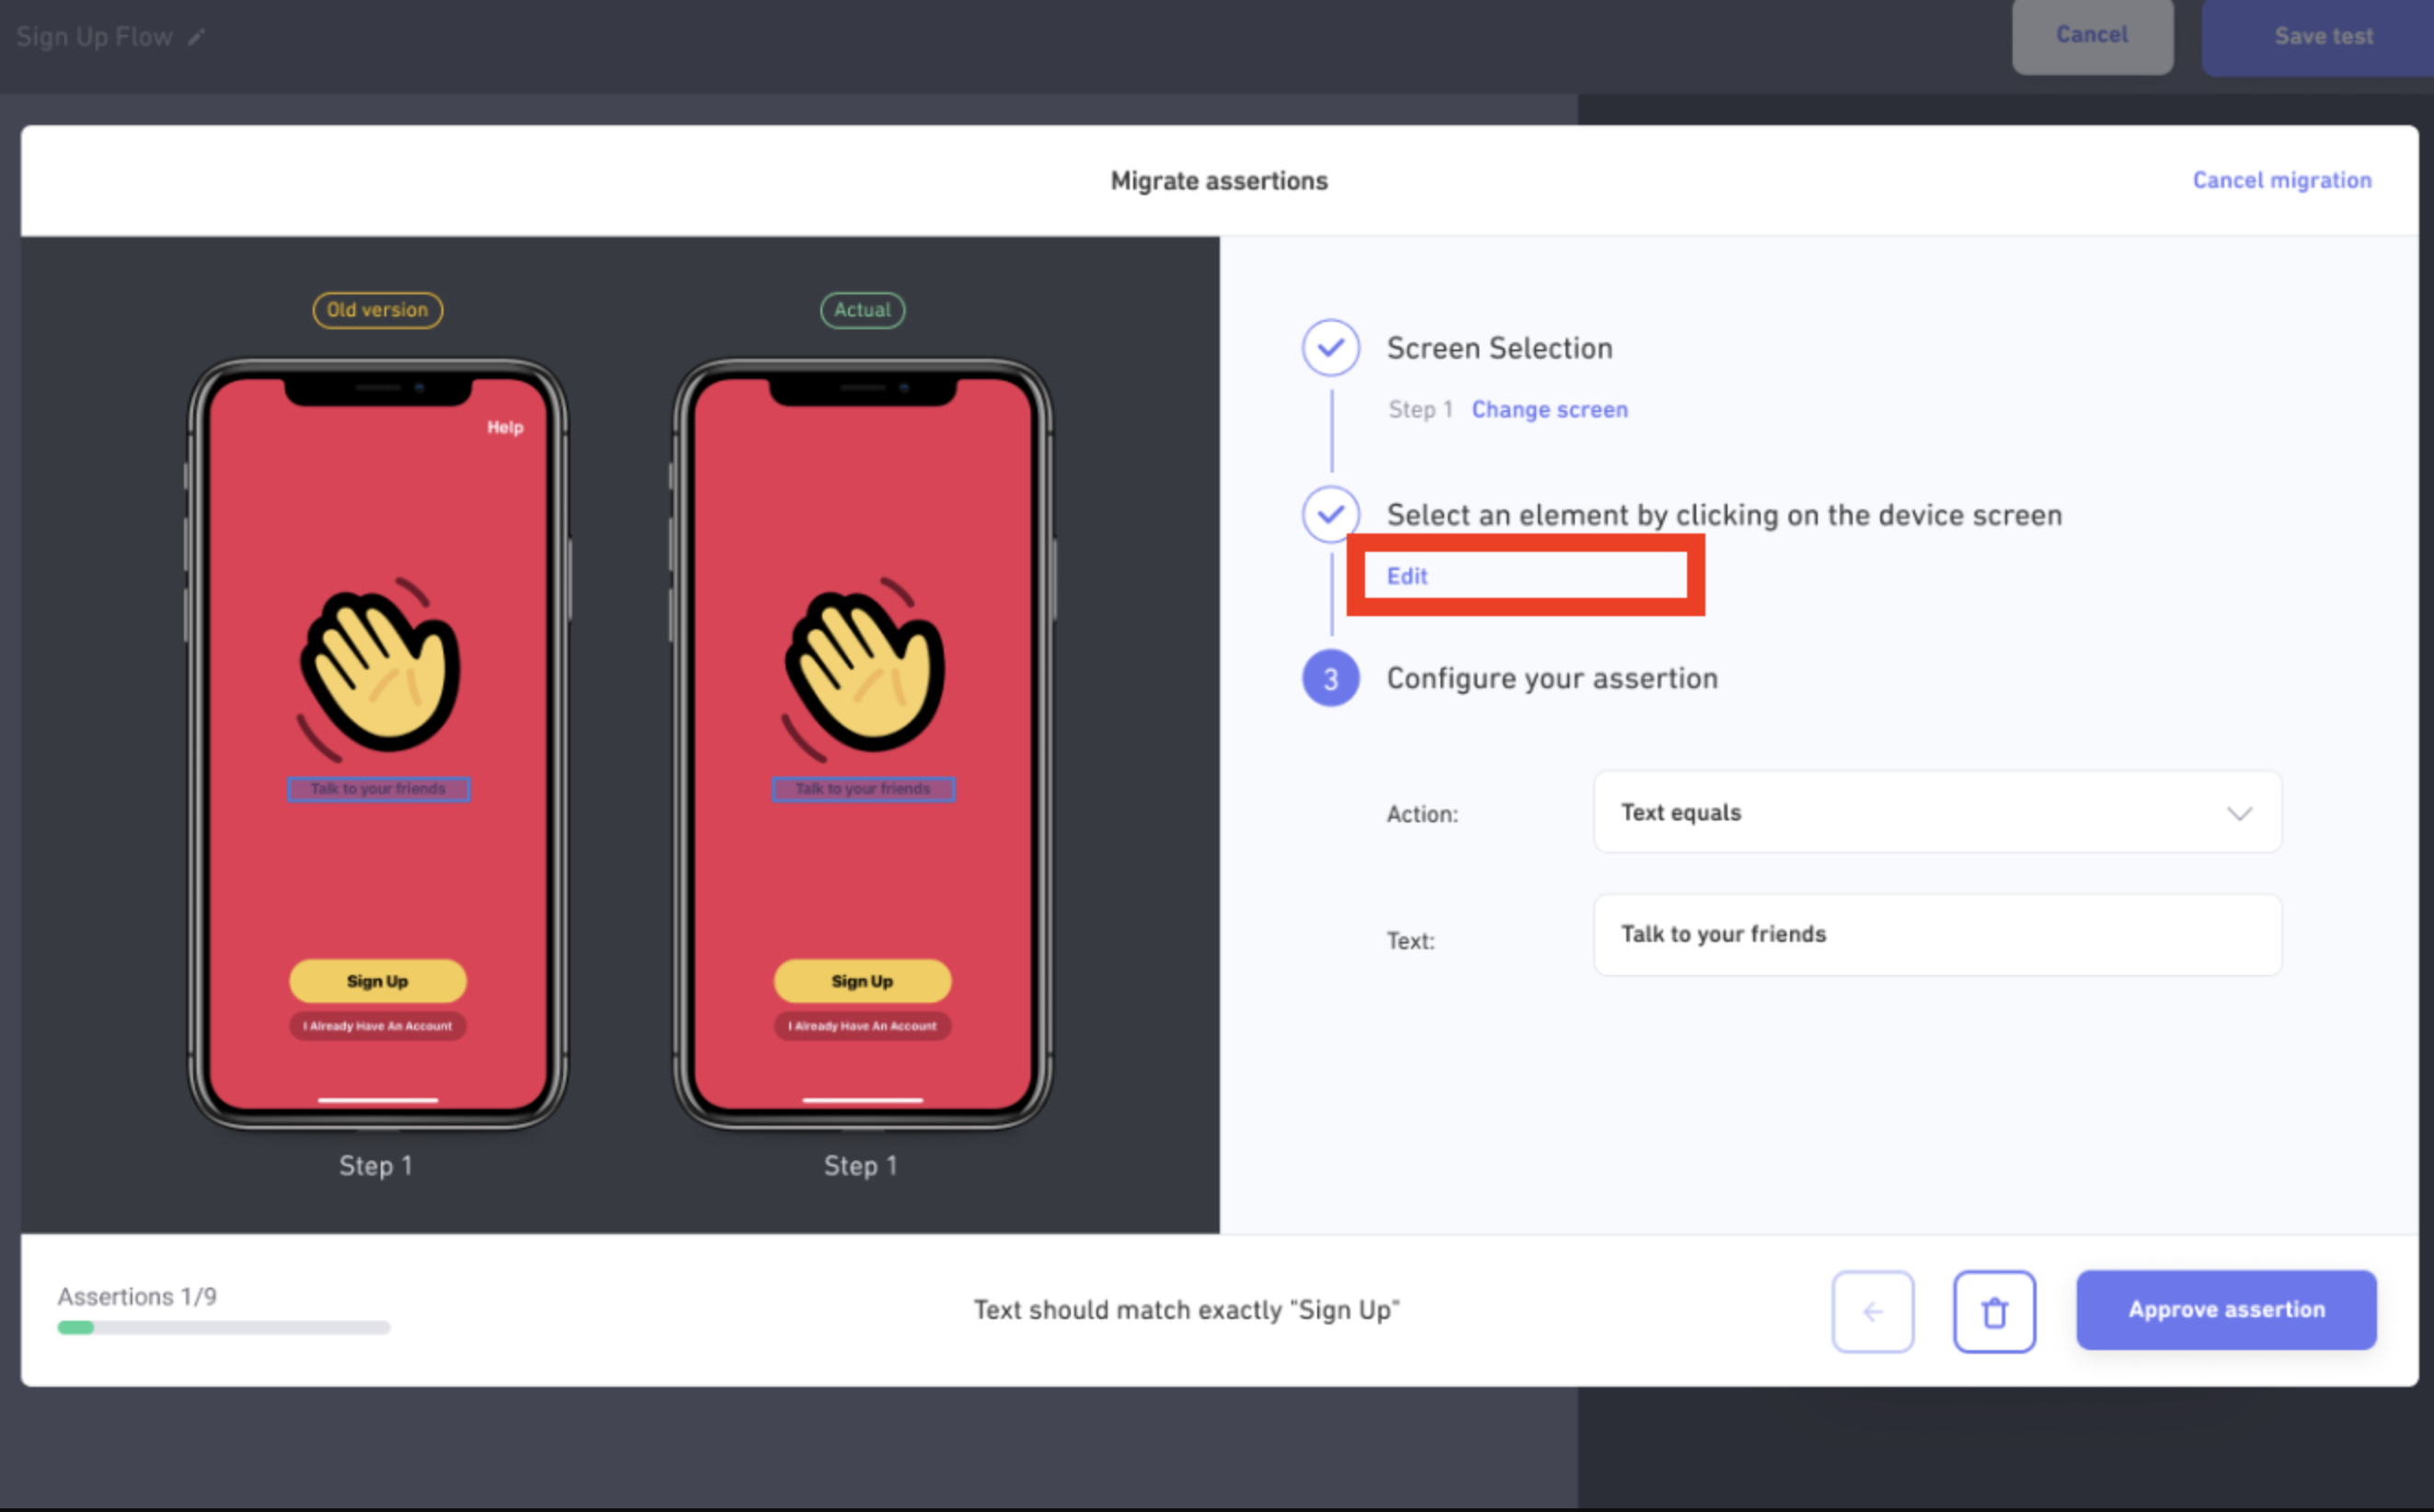
-
Configure the value and criteria of the assertion.
-
When you finish, click on the
Approve assertionbutton at bottom right to save this assertion and move to the next assertion. -
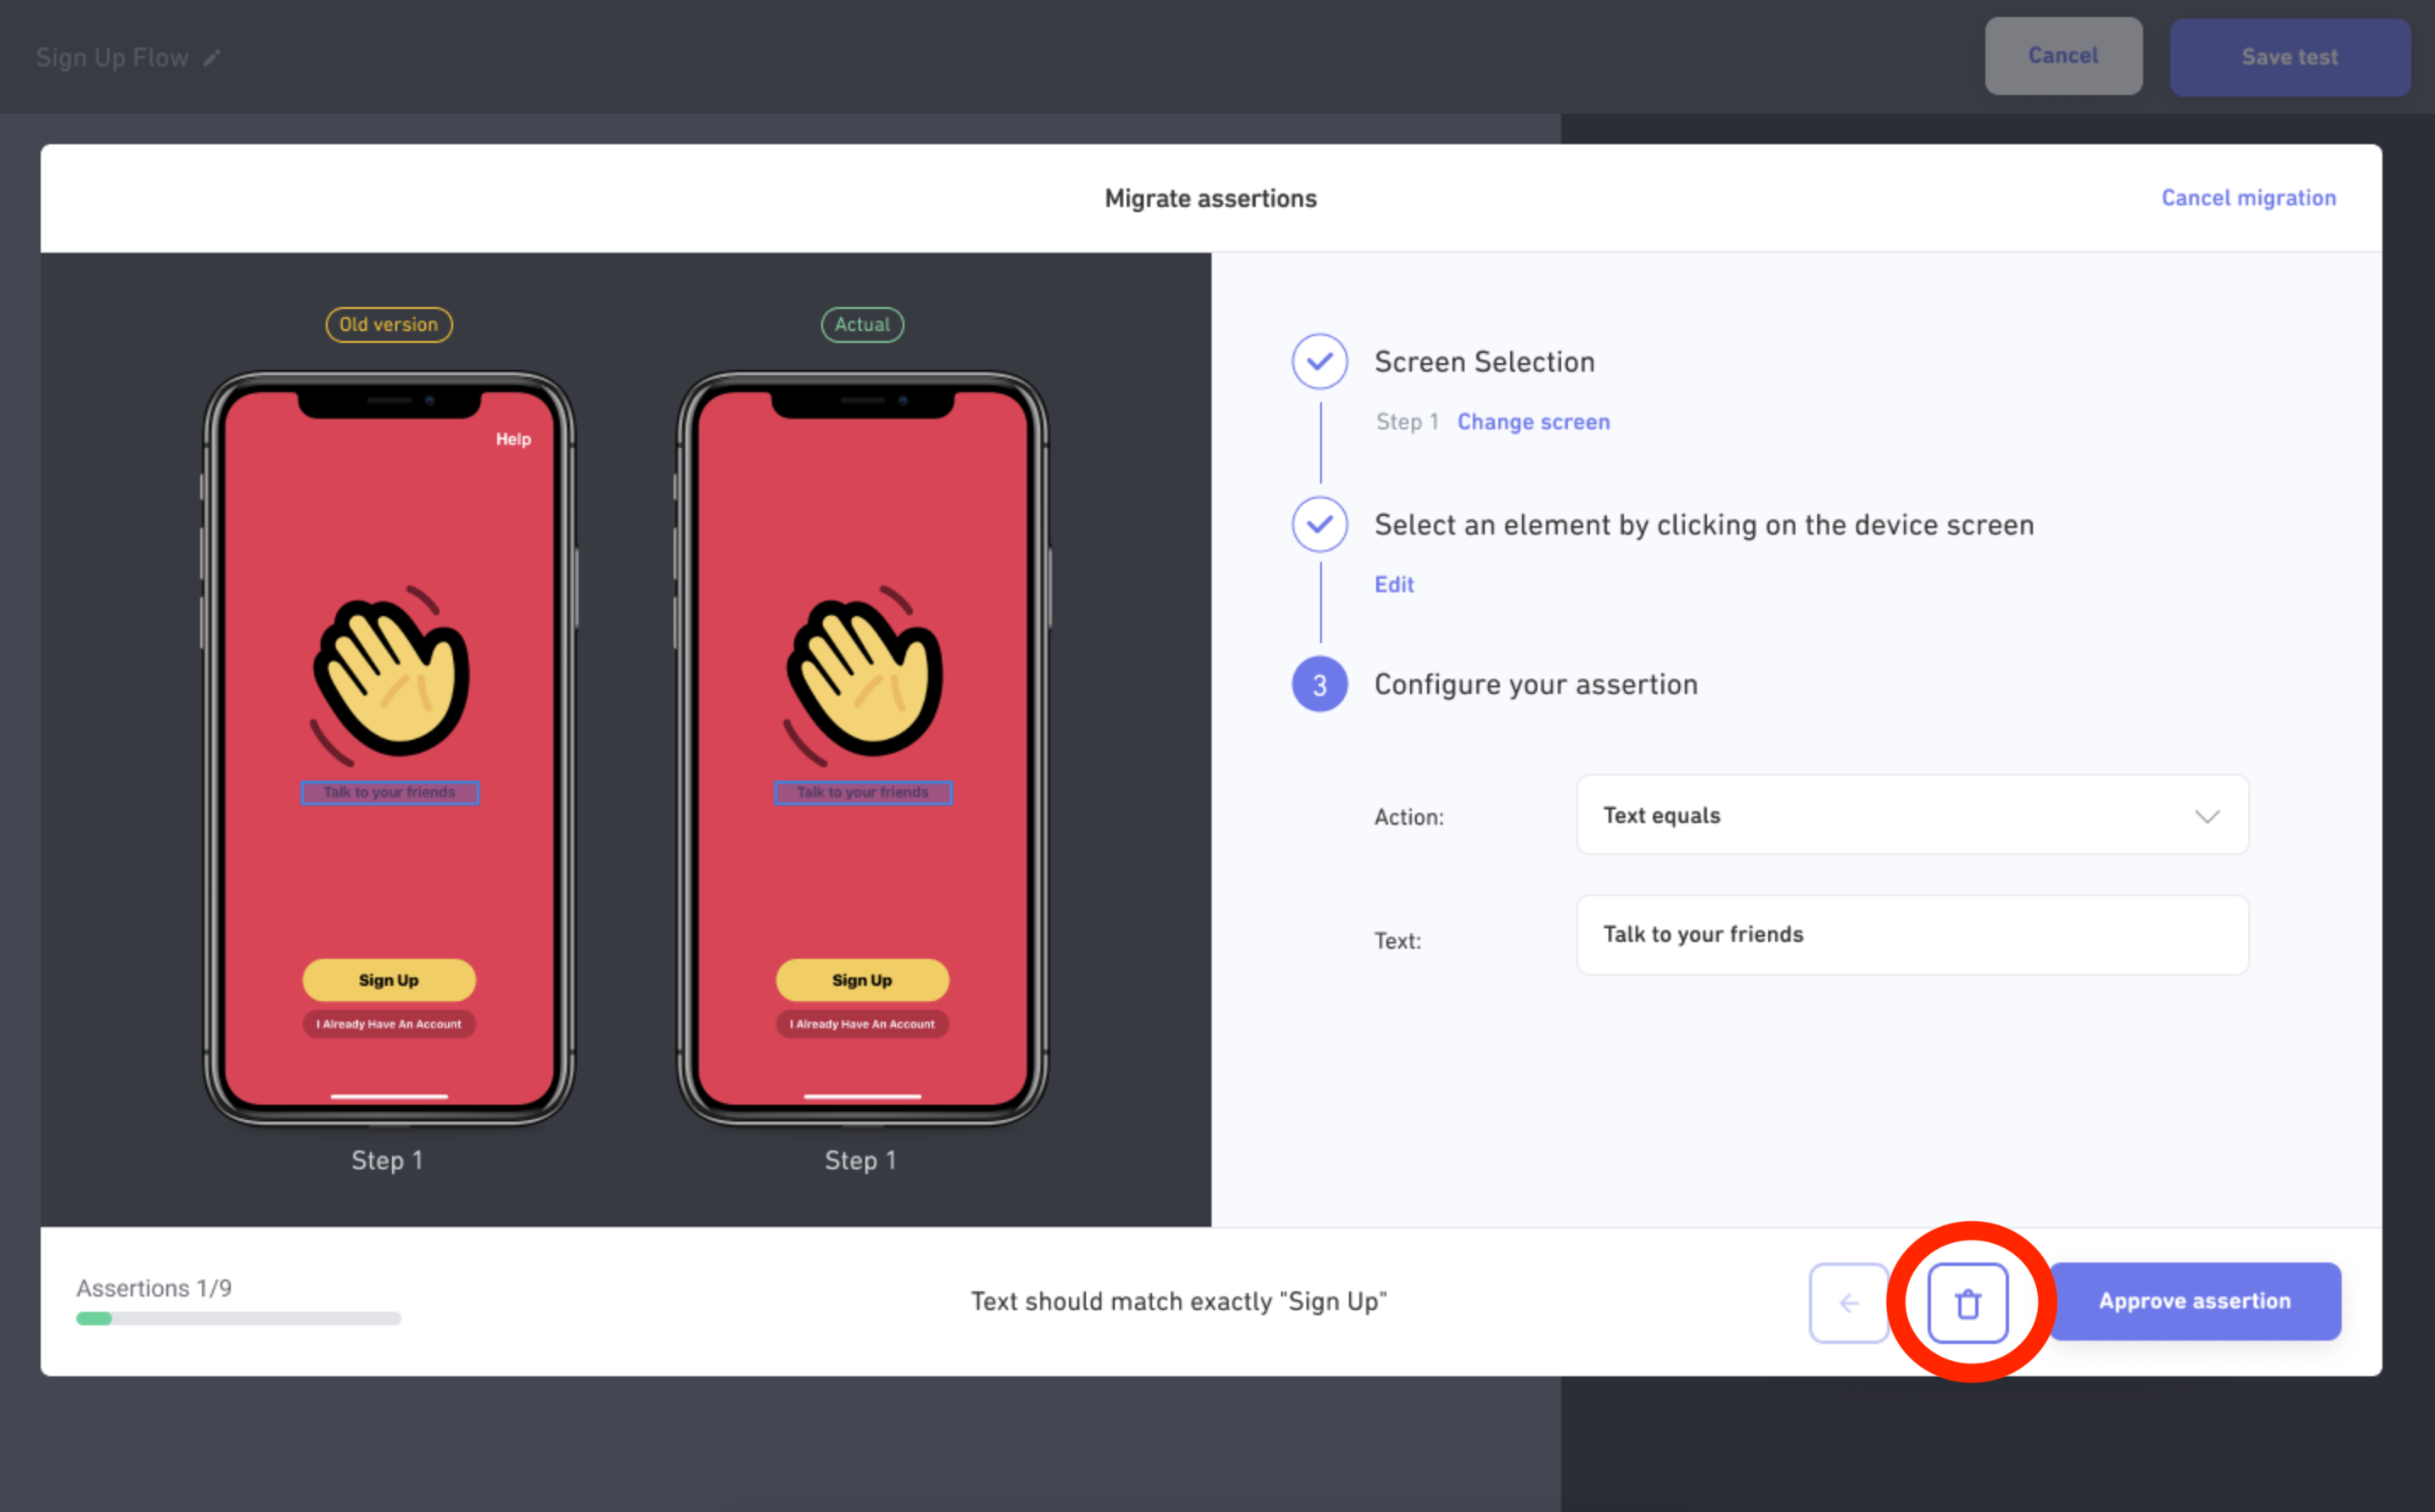
Click the
Trashbutton at bottom right to delete the assertion:
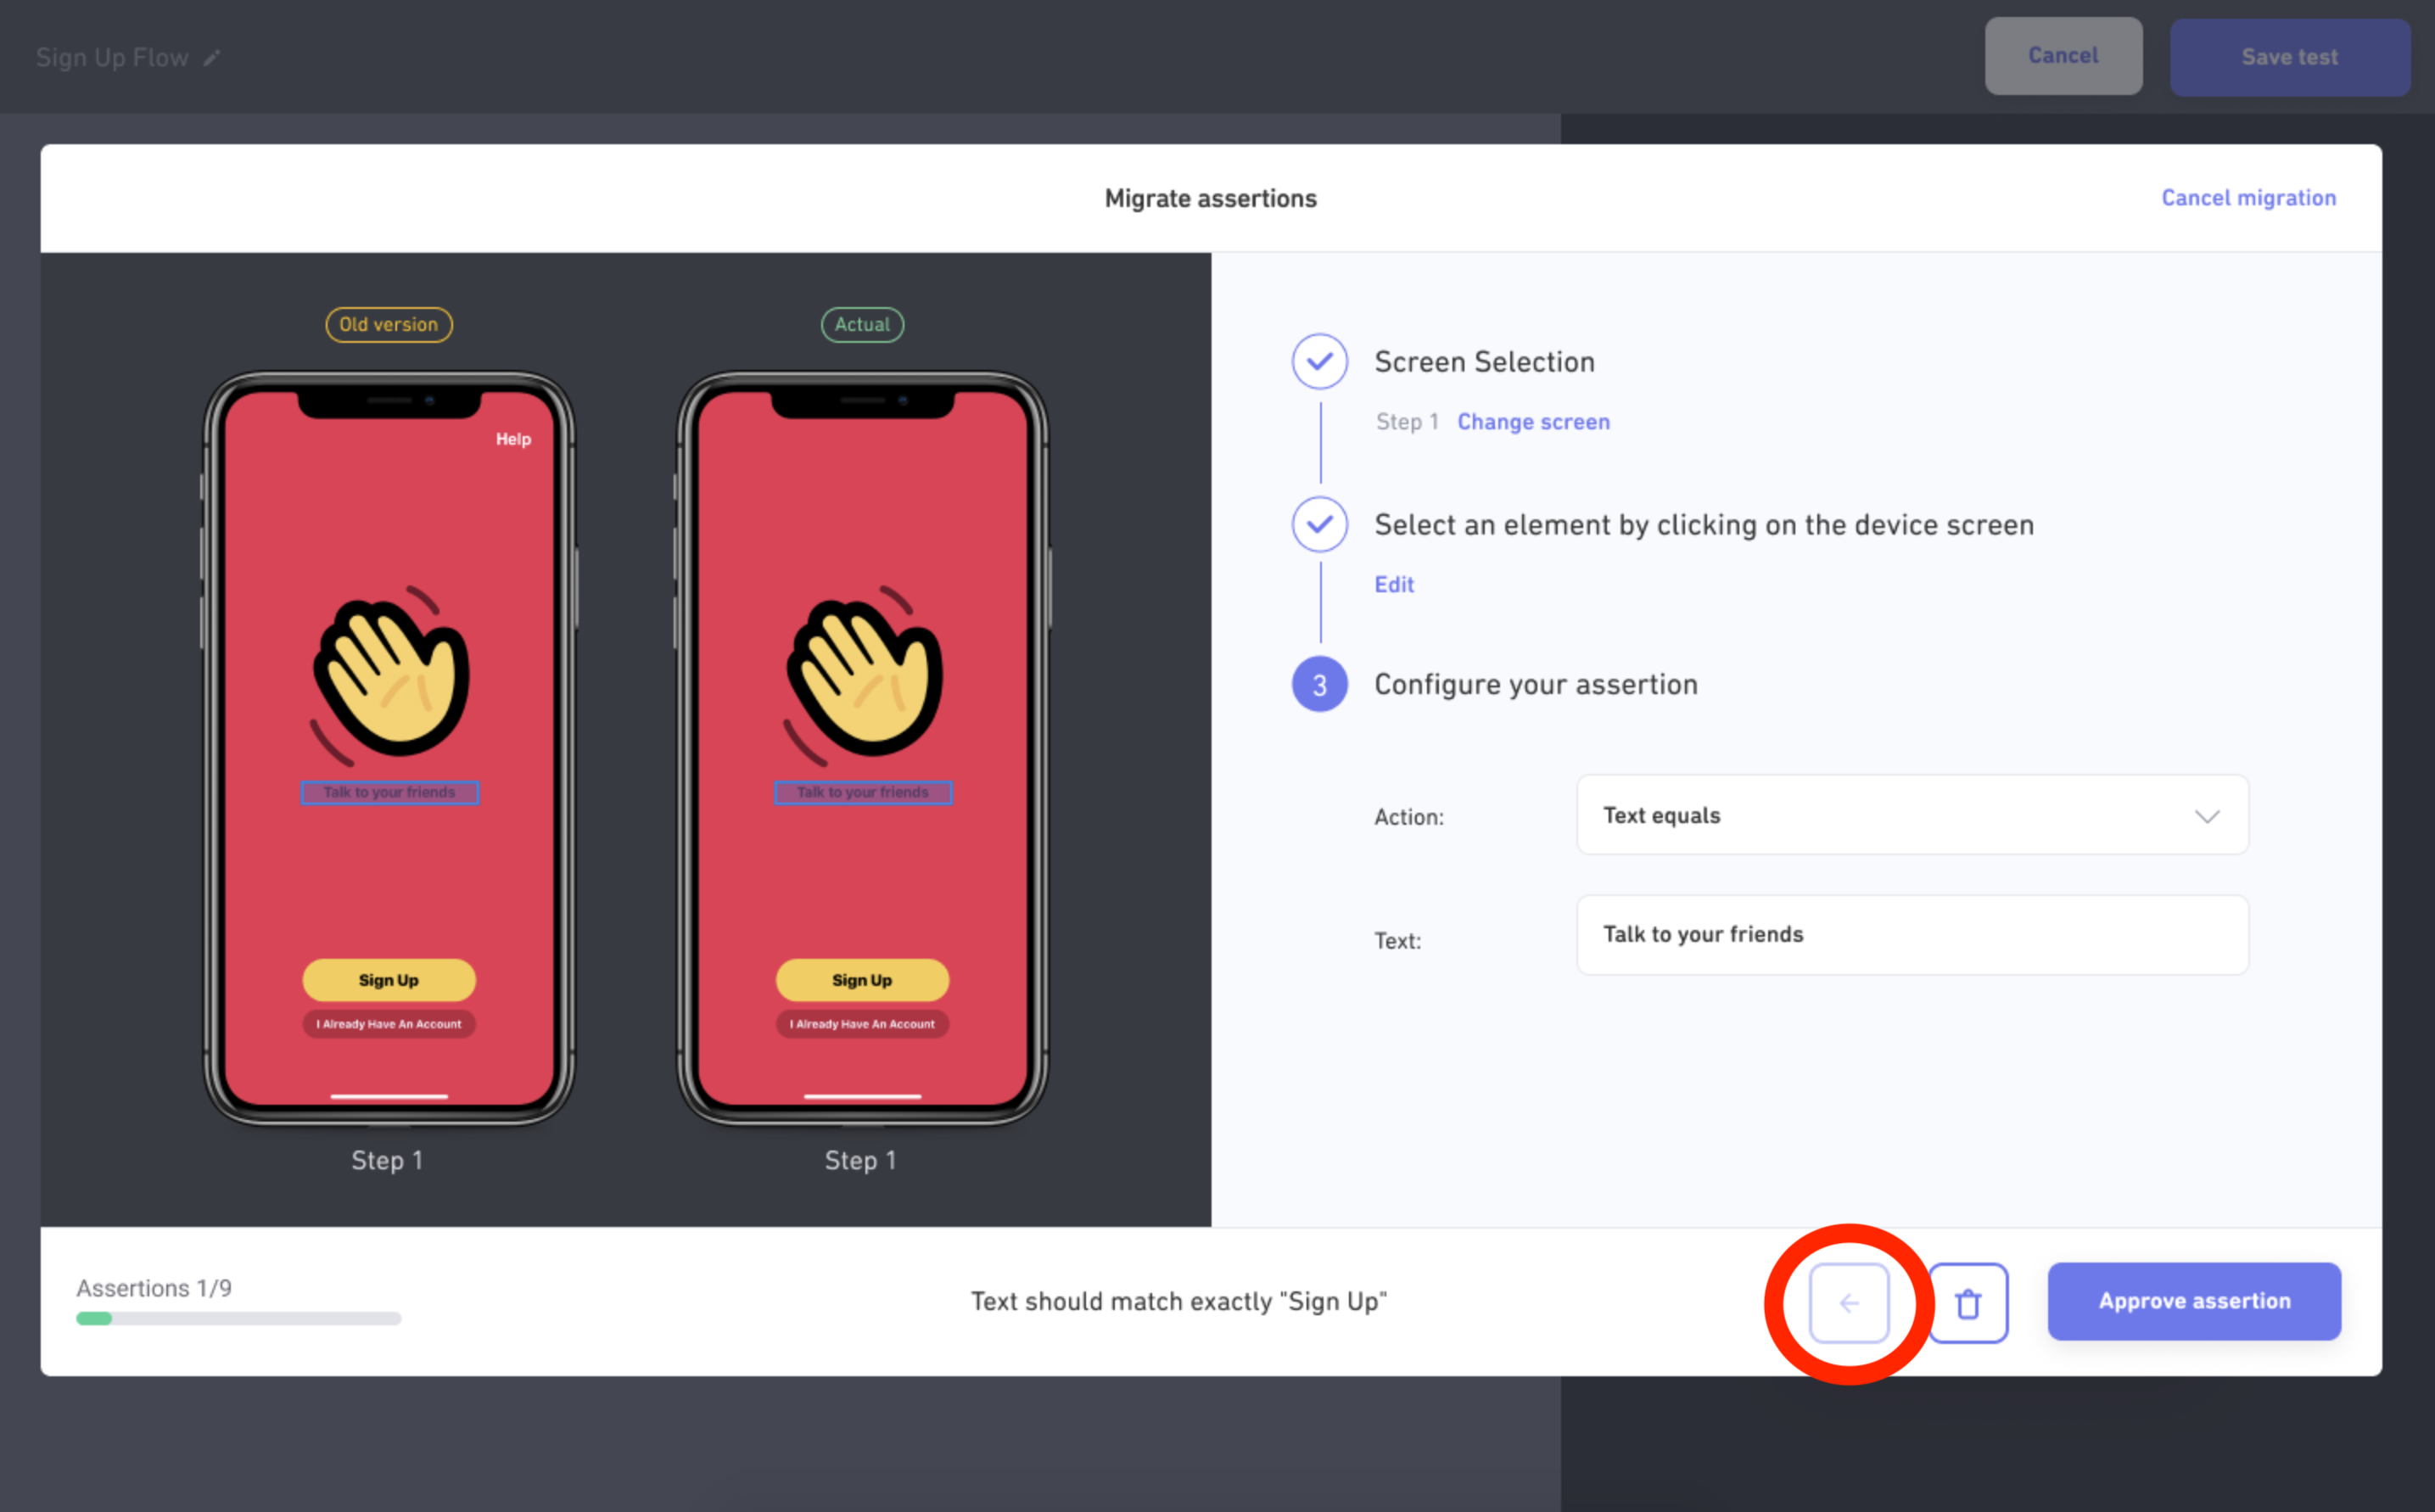
- Click the
←button at bottom right to return to a previous assertion and edit or delete it:
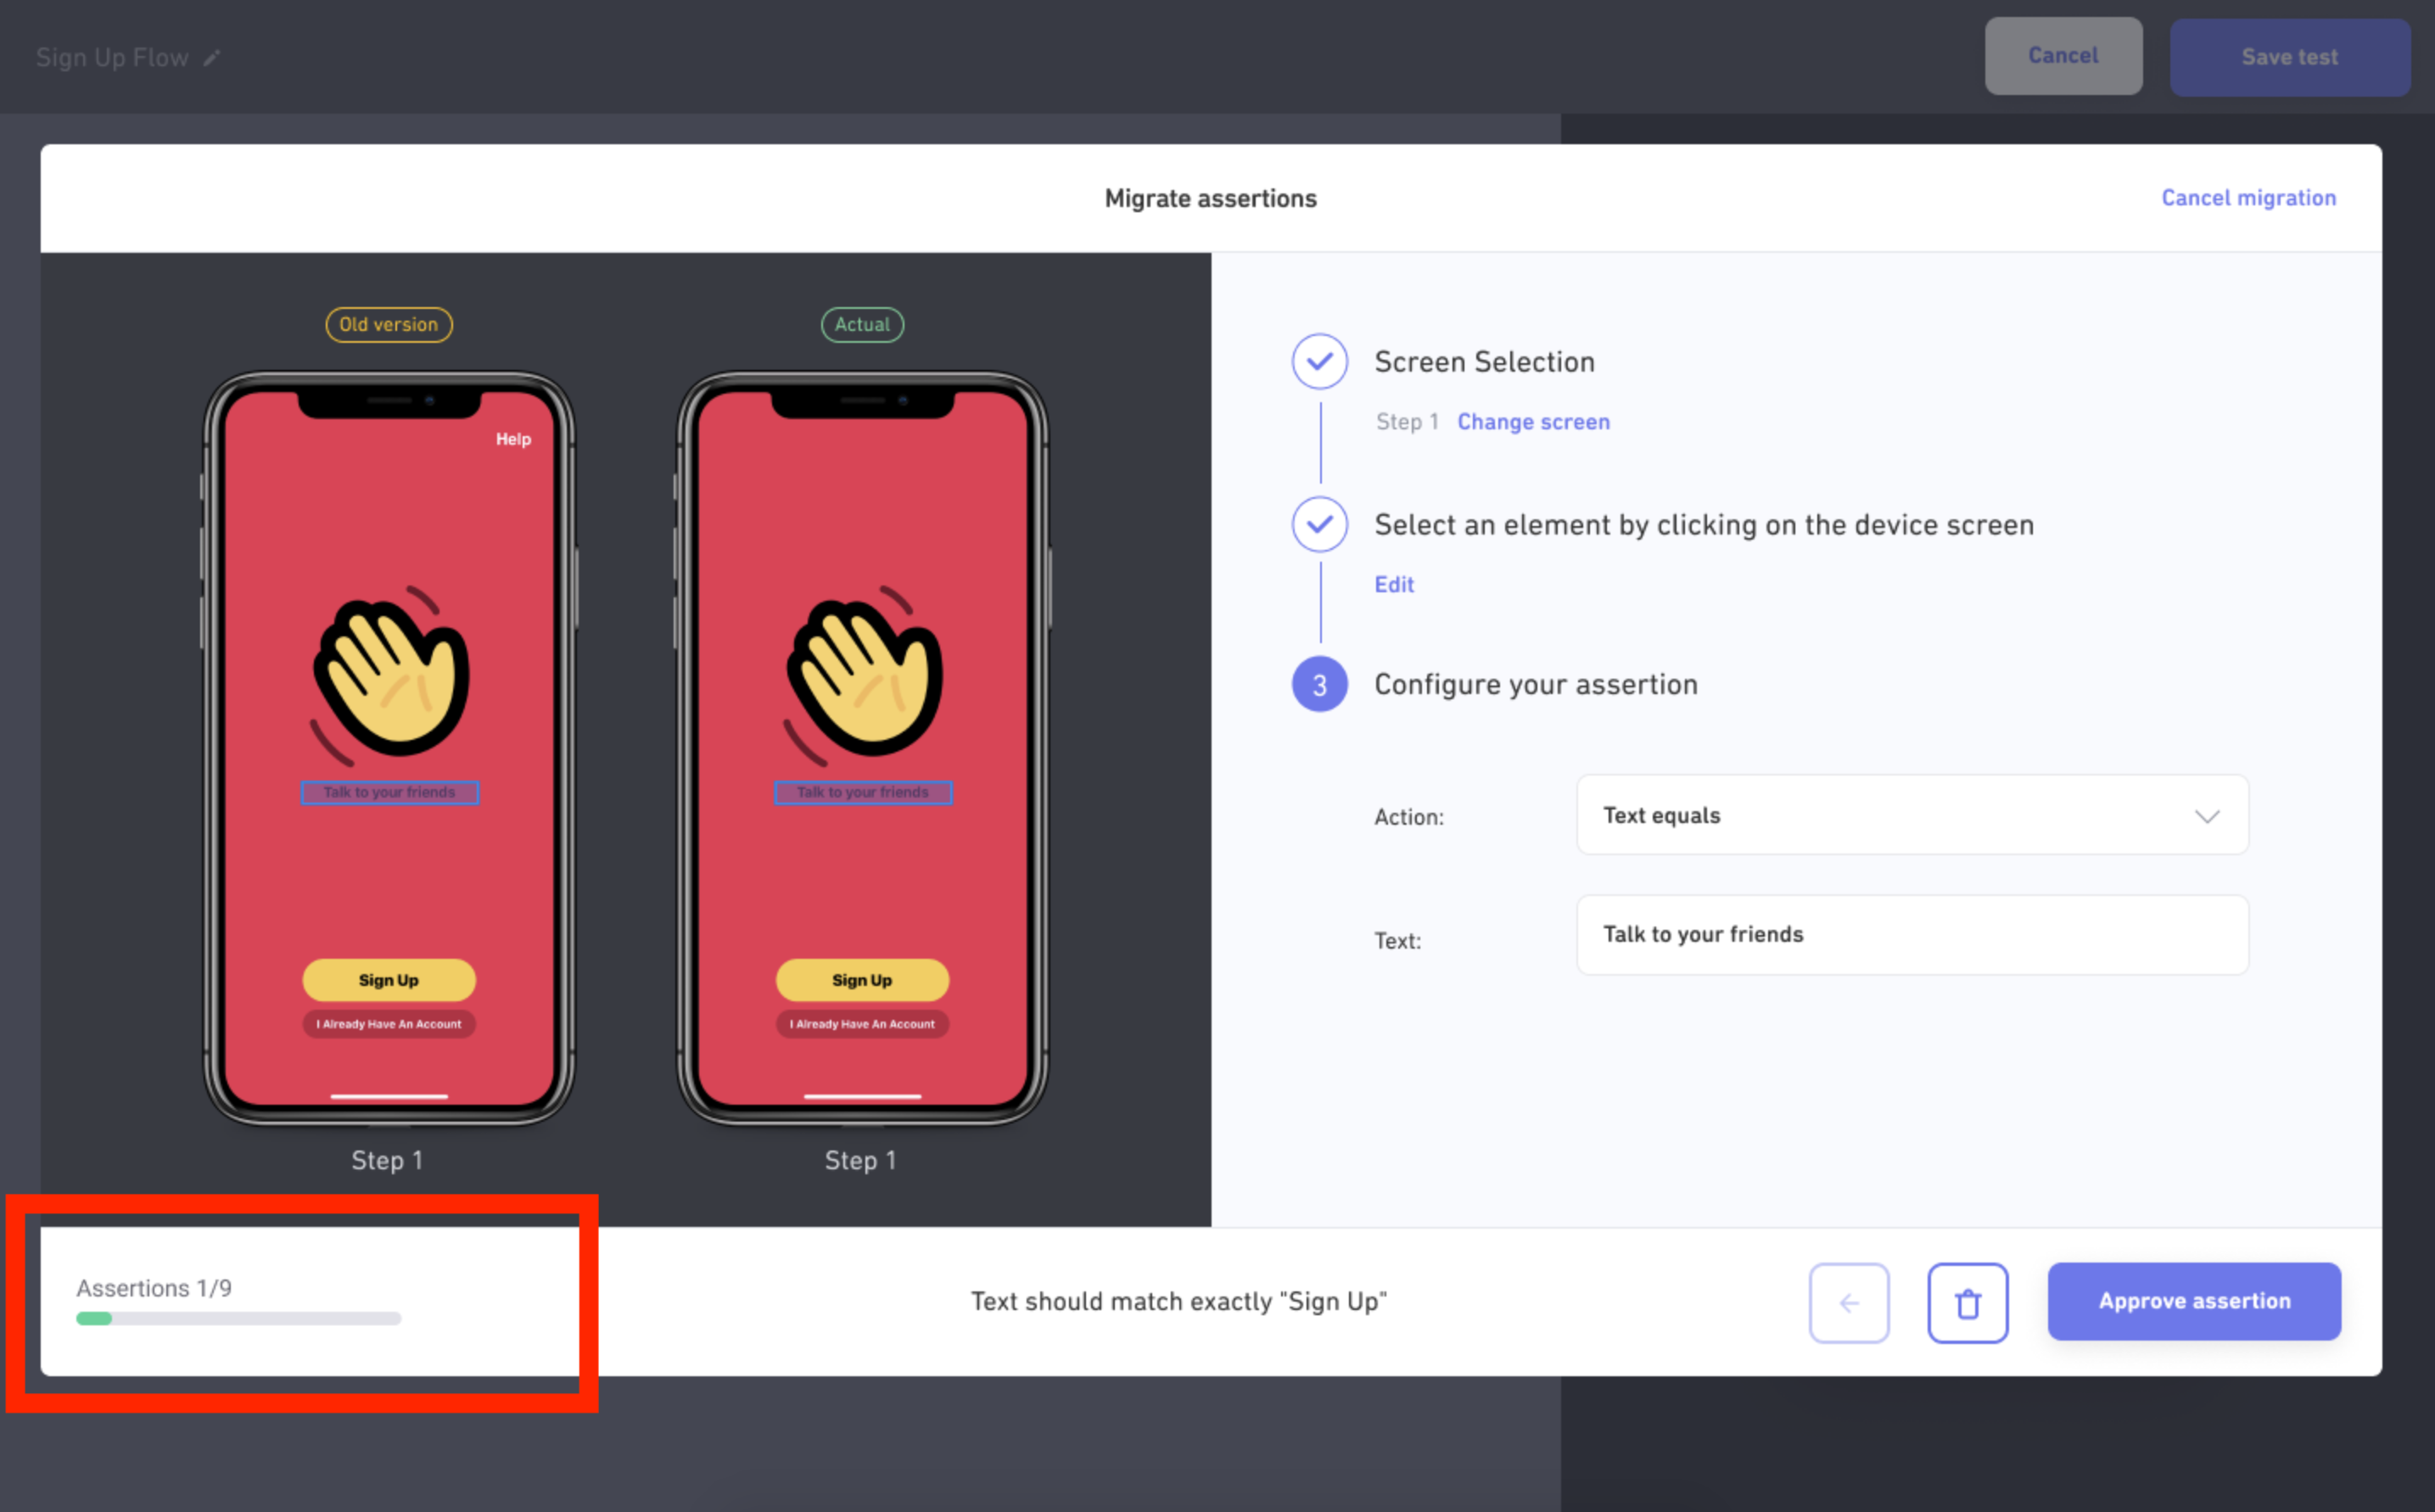
- The progress bar at bottom left displays how many assertions are left to migrate:
- Finally, you can completely cancel the migration by clicking the
Cancel migrationbutton at the top right of the modal window:
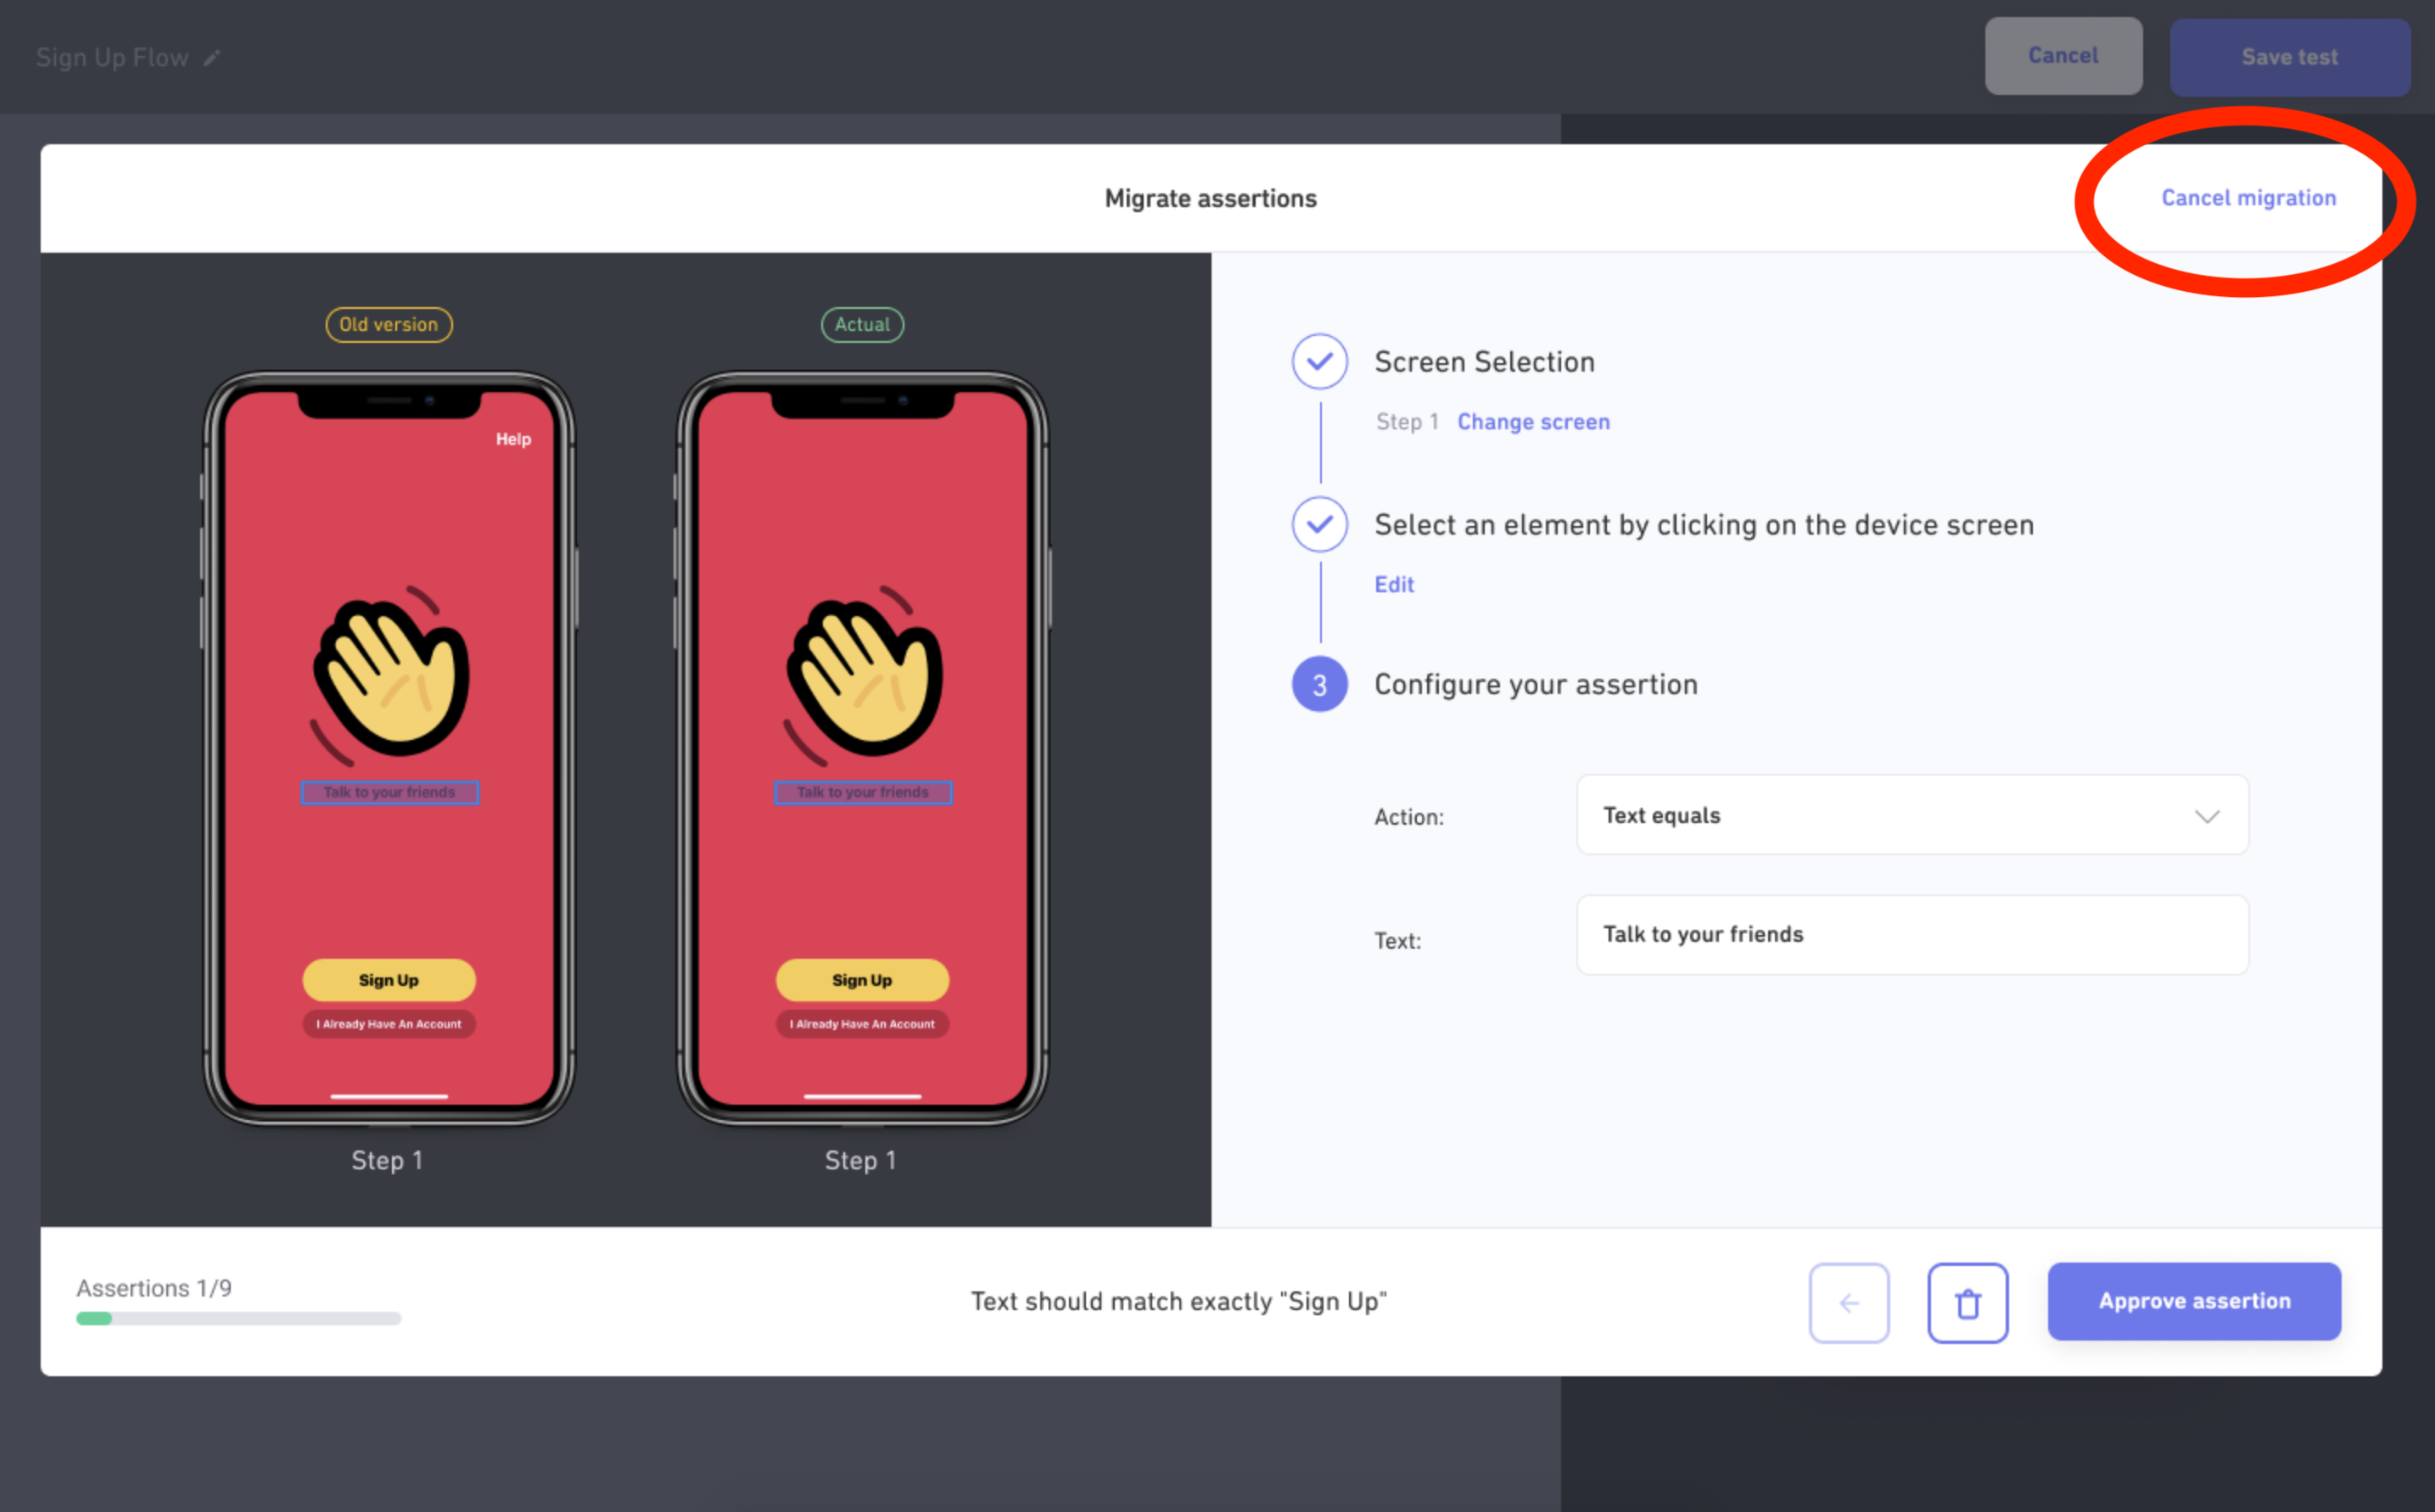
Important: If you cancel the migration, Waldo deletes any migrations that you have not yet validated. For example, if you migrate two out of five assertions and then cancel, the first two assertions are created, but the final three assertions are deleted.
Once all assertions are migrated you will be redirected to the page of the updated recording where you will notice all the migrated assertions on each screen badge.
Updated 3 months ago
