🍃 Code examples for interactions
Our (Open source) @waldoapp/wdio-service package extends the WebdriverIO mobile automation test framework to communicate with Waldo Scripting. However, since Waldo Scripting implements the W3C WebDriver standard endpoints (see Core API Reference) and most Appium extensions, you can use any automation test framework that implements these endpoints.
To make scripts easier to write, we added some additional commands. Don't hesitate to read the documentation for more commands and examples, and to explore the code if you need examples for your own commands.
Tap
await driver.tapElement('text', 'CONTINUE');Swipe
// for simple usecases, when a swipe at the center of the screen will do
await swipeScreen('horizontal', 95, 5);

// when you need more control:
// imagine for instance a 'swipe to unlock' box at the bottom of the screen
// you can specify the move with absolute pixel references
// beware as this is very specific to a screen configuration
await driver.touchPerform([
  { action: 'press', options: { x: 80, y: 162 } },
  { action: 'wait', options: { ms: 1500 } },
  { action: 'moveTo', options: { x: 1000, y: 162 } },
  { action: 'release' },
]);
Type
await driver.typeInElement('text', 'Search Wikipedia', 'Tricentis');Screenshot
await driver.screenshot(`screenshot-name.png`);Wait
Imagine your app uses an animation that makes the element you want to interact with unavailable. One strategy to deal with this is to poll the tree regularly to detect when the element appears. We created a helper function for that:
await driver.waitForElement('text', 'Day of the year', 10_000, 500, true);Sometimes an element is visible on screen and can be interacted with, but its action depends on your app being in a particular state. For example, in a chatbot, you want to wait for the bot to finish its current sequence before the action button becomes active. In that case you could for instance tweak the code of that function to wait until the element becomes active.
Log
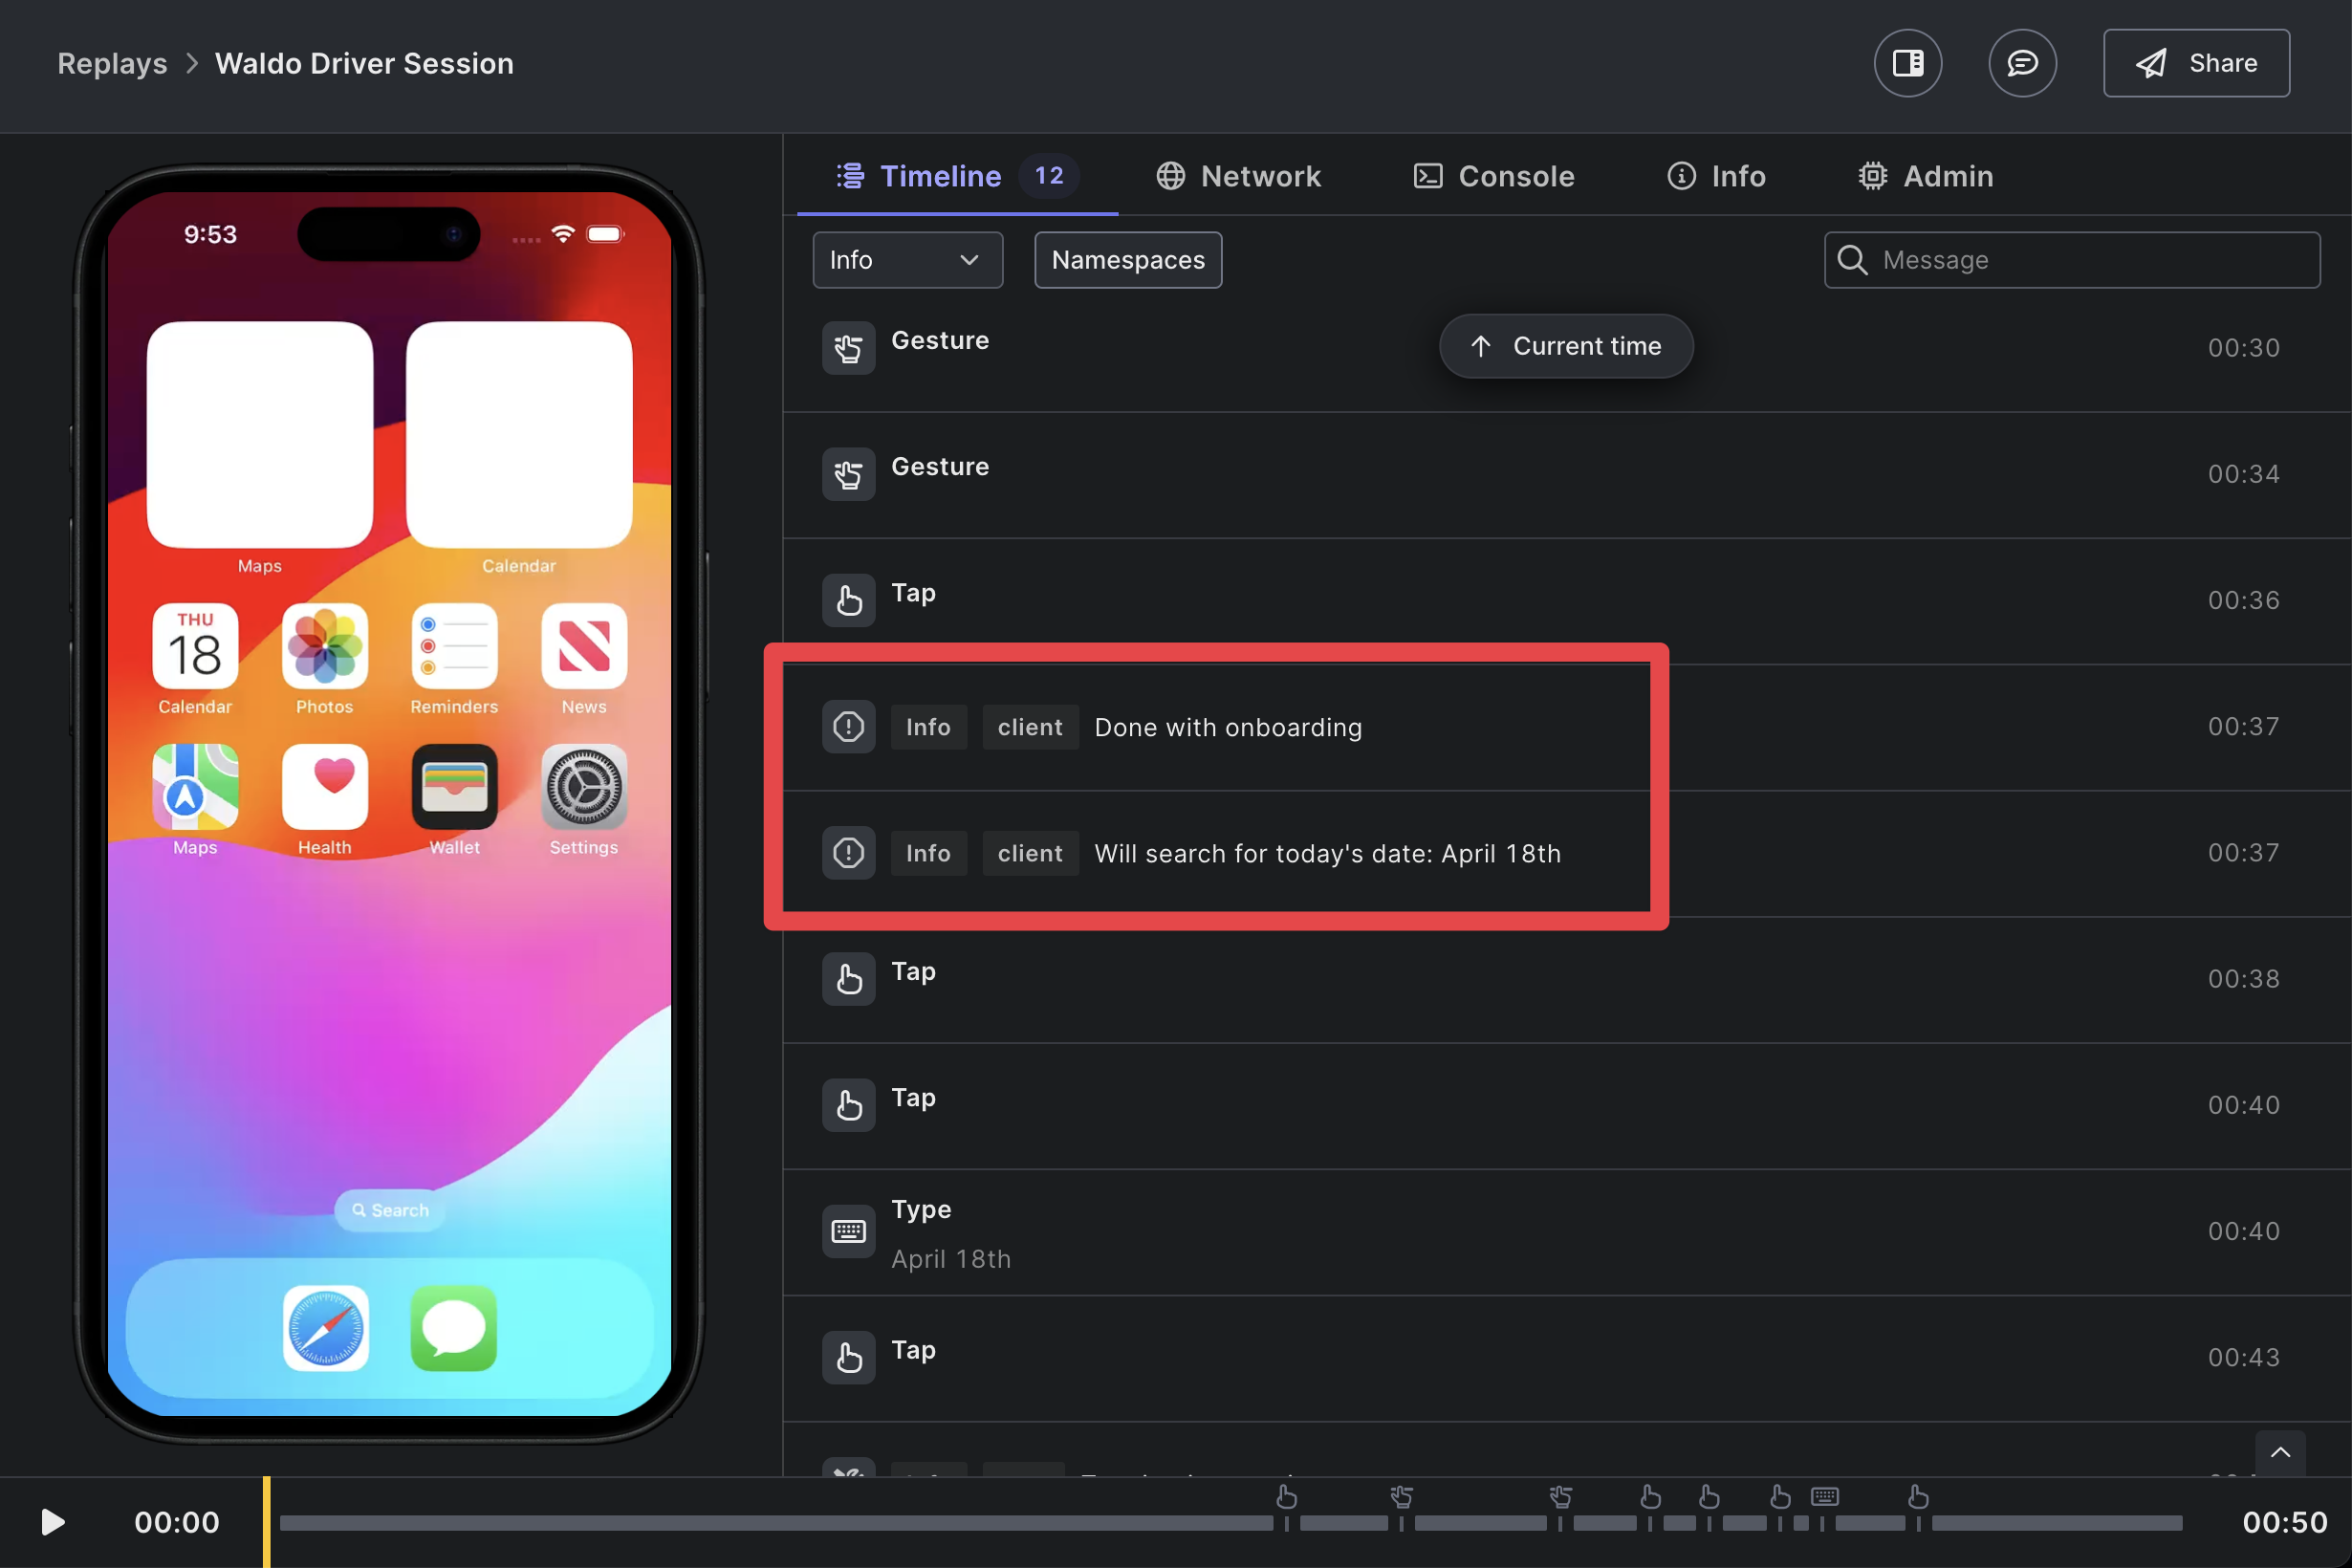
Here is a handy command to make logs appear in your Replay timeline:
await driver.log('Logging in as a regular user', { email: '[email protected]' }, 'info'); // 'debug' | 'info' | 'warn' | 'error'Here is how it will appear in your replay timeline:
Read the value of a box
Let's say we want our script to "read" the value of the featured article title on the Wikipedia mobile app home page.
The way to do it is to
- fetch the Waldo tree,
- select the "box" from which we want to read that value (this can be difficult when the box does not have any specific locator, like in the example below)
- and then access its value.
Here is one way to implement it:
describe('Wikipedia iOS - Onboarding', () => {
it('Get the title of the Featured Article', async () => {
await driver.log('Going through onboarding', {}, 'info');
await driver.tapElement('text', 'Next');
await driver.tapElement('text', 'Skip');
// if we omit this line, the script gets the tree from the loading page
await driver.waitForElement('text', 'Featured article');
// get all nodes of the type "staticText"
const textNodes = await driver.getNodes((n: any) => n.type === 'staticText');
// identify which node index is the good one
// console.log(textNodes.map((n: any) => n.text));
// the title of the featured article is on the 5th node -> index 4
console.log(`The title of the featured article is: ${String(textNodes[4].text)}`);
});
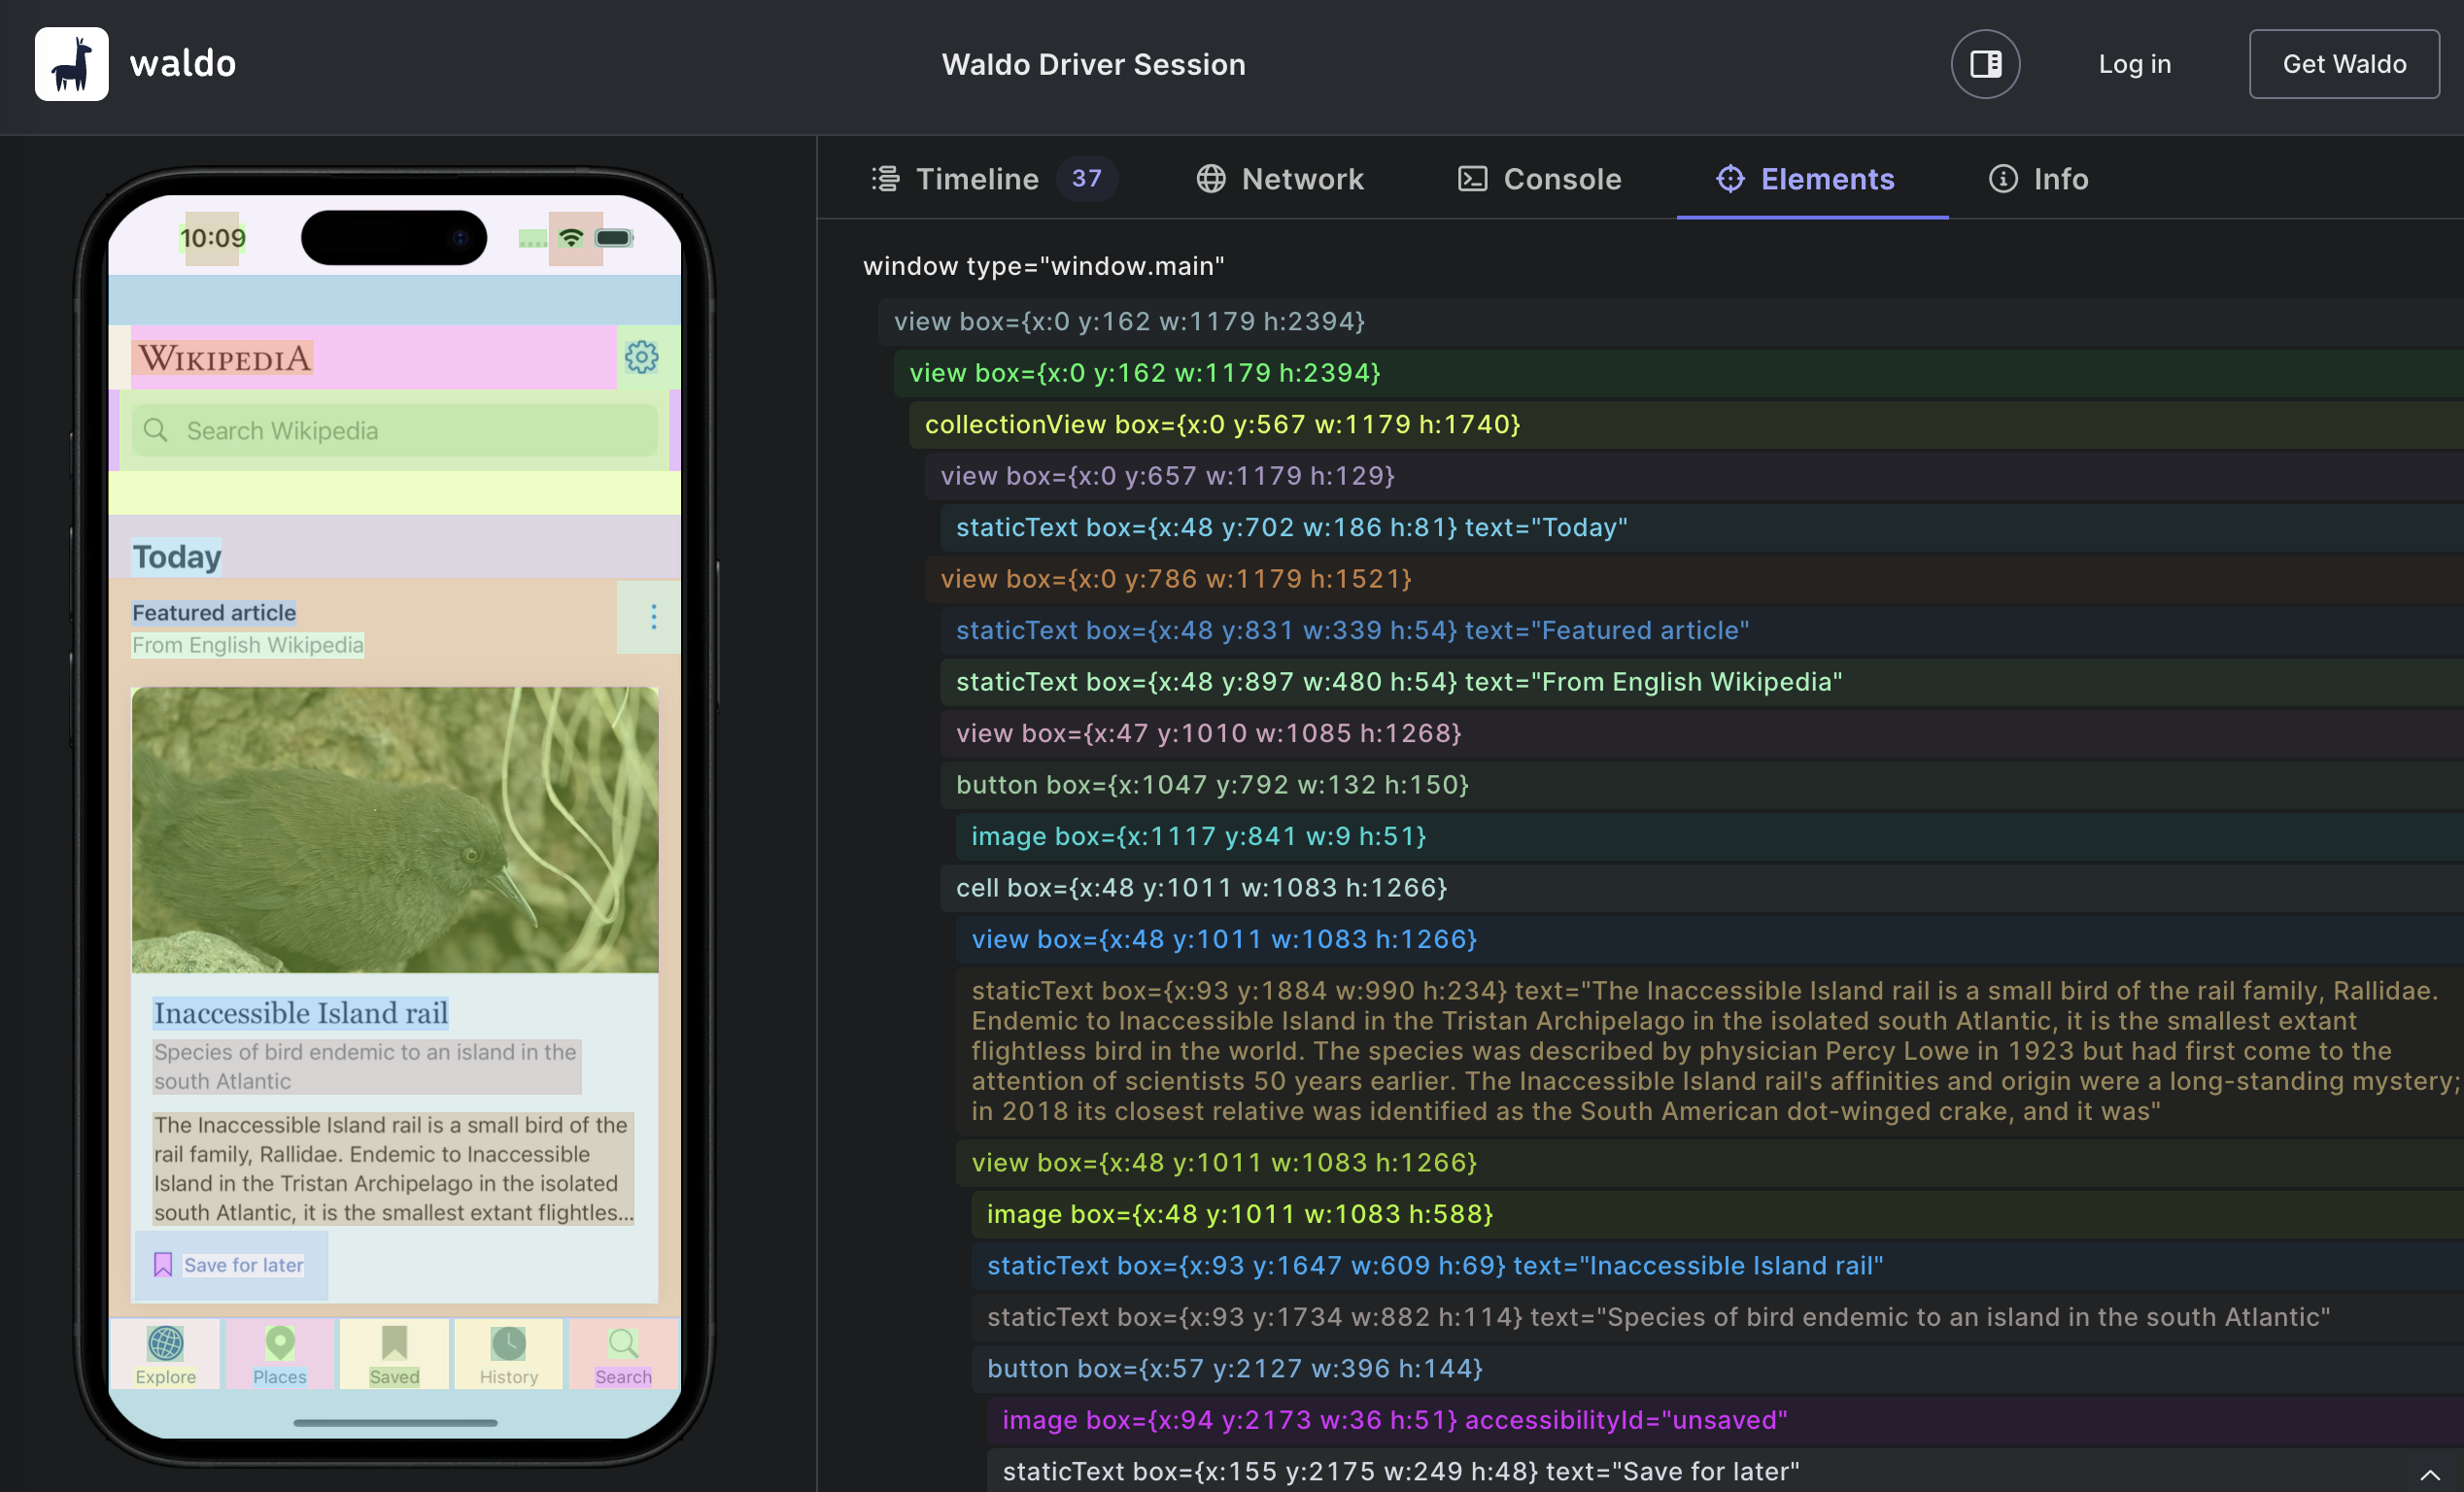
});You can have a look at the Public Replay of this test here. In particular, make sure you have a look at the tree we extract on this request:
You can test this with our boilerplate project and the Wikipedia sample app loaded by default on Waldo accounts.
Updated 6 months ago