React Native (Non-Expo)
A step-by-step guide to exporting a Waldo-compatible build of your Reactive Native app.
Exporting an iOS simulator build from React Native
- Generate the bundle file for iOS.
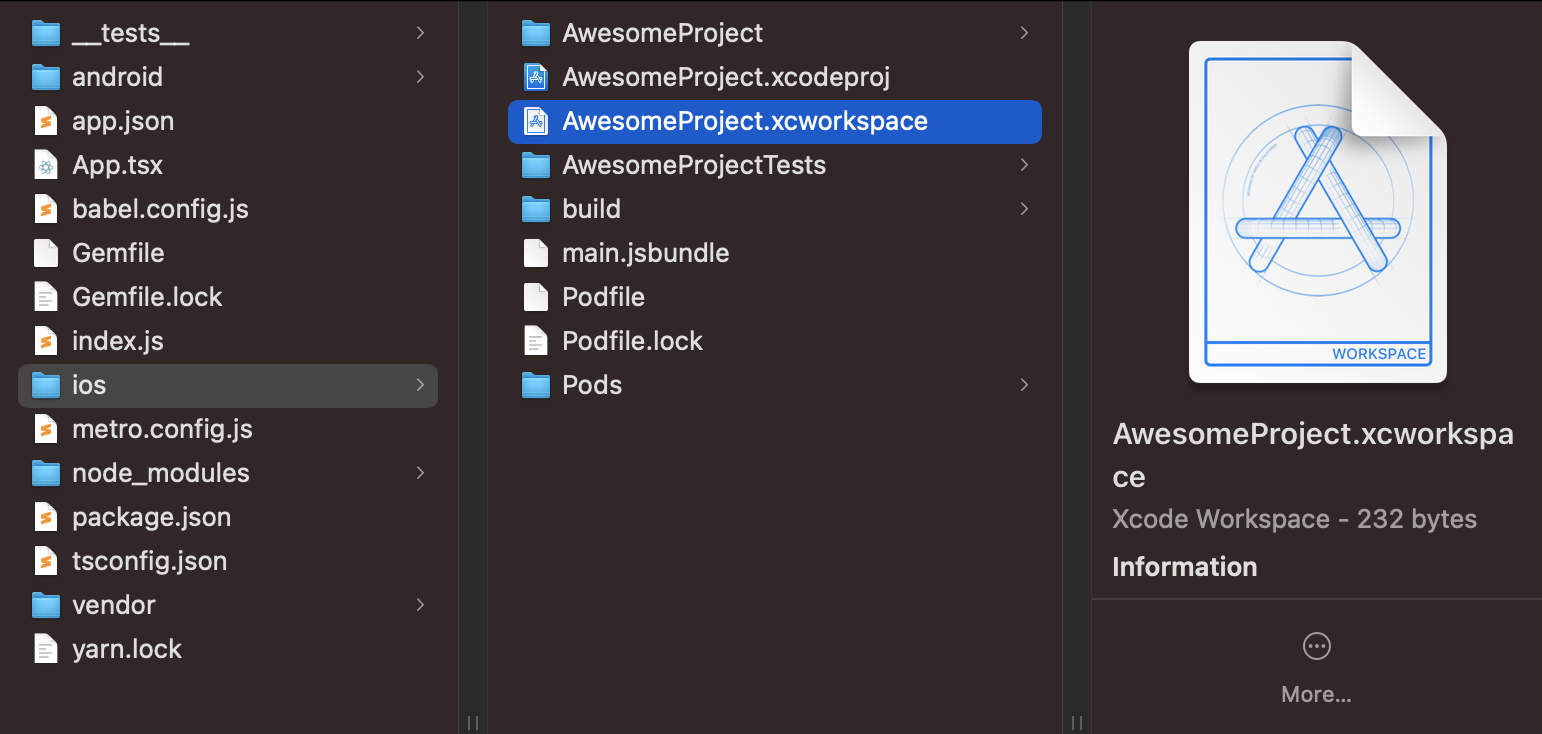
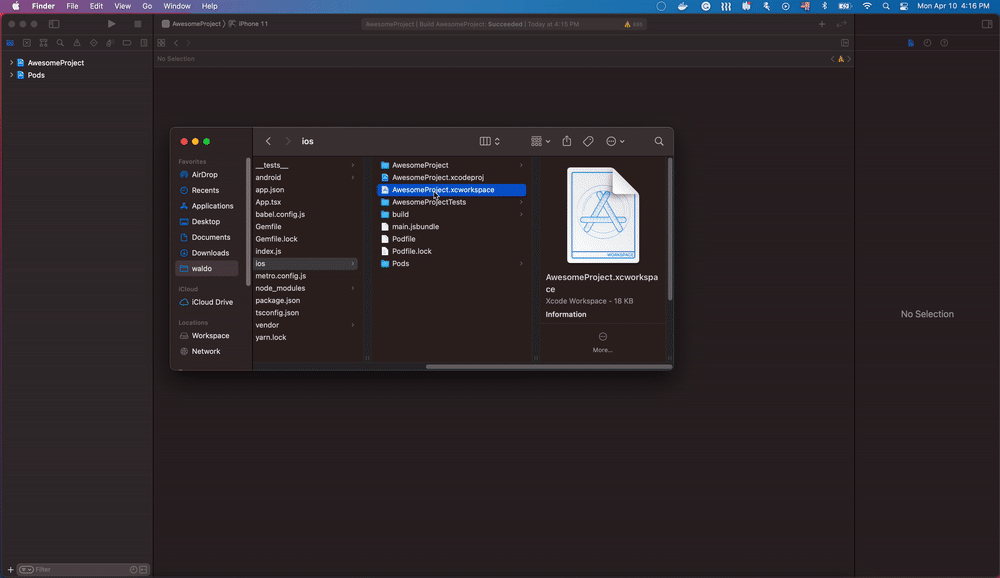
npx react-native bundle --entry-file='index.js' --bundle-output='./ios/main.jsbundle' --dev=false --platform='ios'- Launch Xcode and open the workspace for your app.
- Follow these steps to generate the
.appfile.
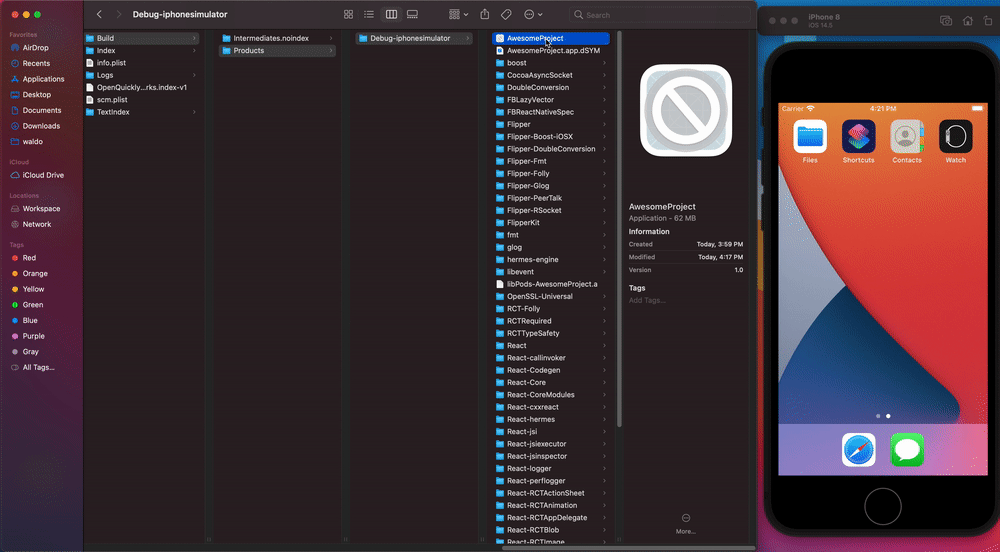
- Validate your
.appfile using a simulator.
 ## Exporting an Android emulator build from Reactive Native
- Create an
assetsfolder underandroid/app/src/main/if necessary.
mkdir android/app/src/main/assets- Generate the bundle file for Android.
npx react-native bundle --platform android --dev false --entry-file index.js --bundle-output android/app/src/main/assets/index.android.bundle --assets-dest android/app/src/main/res- Go to the
androidfolder.
cd android- Build the
.apkfile with Gradle.
./gradlew assembleDebug- You can find the resulting
.apkfileandroid/appbuild/outputs/apk/debug/app-debug.apk. - Validate your
.apkfile using an emulator.
Updated 4 months ago